<目次>
(1) Javaのフォーム認証でオリジナルの(元の)リクエスト情報を取得する方法
(1-1) 構文
(1-2) サンプルプログラム
●JSP(要求ページ)
●JSP(ログインページ)
●カスタム認証サーブレット
(1) Javaのフォーム認証でオリジナルの(元の)リクエスト情報を取得する方法
Javaのフォーム認証において、カスタムのログイン画面を作る際に、要求されたページに遷移させるために「元々要求された画面のURLを知りたい」時に使うメソッドをご紹介します(下図で言う「要求ページ」のURLを取得する方法)。
(図111)

(1-1) 構文
元々の要求URLはリクエストの「javax.servlet.forward.request_uri」という属性にセットされており、HttpServletRequestインターフェイスのgetAttributeメソッド等を利用して値を取得します。
(構文)元々の要求URLの取得方法
[HttpServletRequest型のインスタンス].getAttribute("javax.servlet.forward.request_uri");
そして、フォーム認証において利用する場合は、例えば次のような使い方になります。
(利用例)
①「要求ページ(AfterLogin1.jsp)」をリクエスト
↓
②「ログイン画面(Login1.jsp)」に遷移
このタイミングで上記の「getAttribute(“javax.servlet.forward.request_uri”)」で要求ページのURLを取得し、form部品(隠しテキストボックス等)にセットする等して、次処理に連携します(後半部分でやり方掲載しています)。
↓
③「カスタム認証サーブレット」⇒「要求ページ(AfterLogin1.jsp)」にリダイレクトさせる。
(1-2) サンプルプログラム
●JSP(要求ページ)
⇒何でもOK
要求ページのJSPは何でも良いのでサンプルの掲載はしませんが、設定面で満たすべき条件として「認証が必要な画面である」ことが挙げられます(つまり、FORM認証の守備範囲の配下にある画面、という意味)。
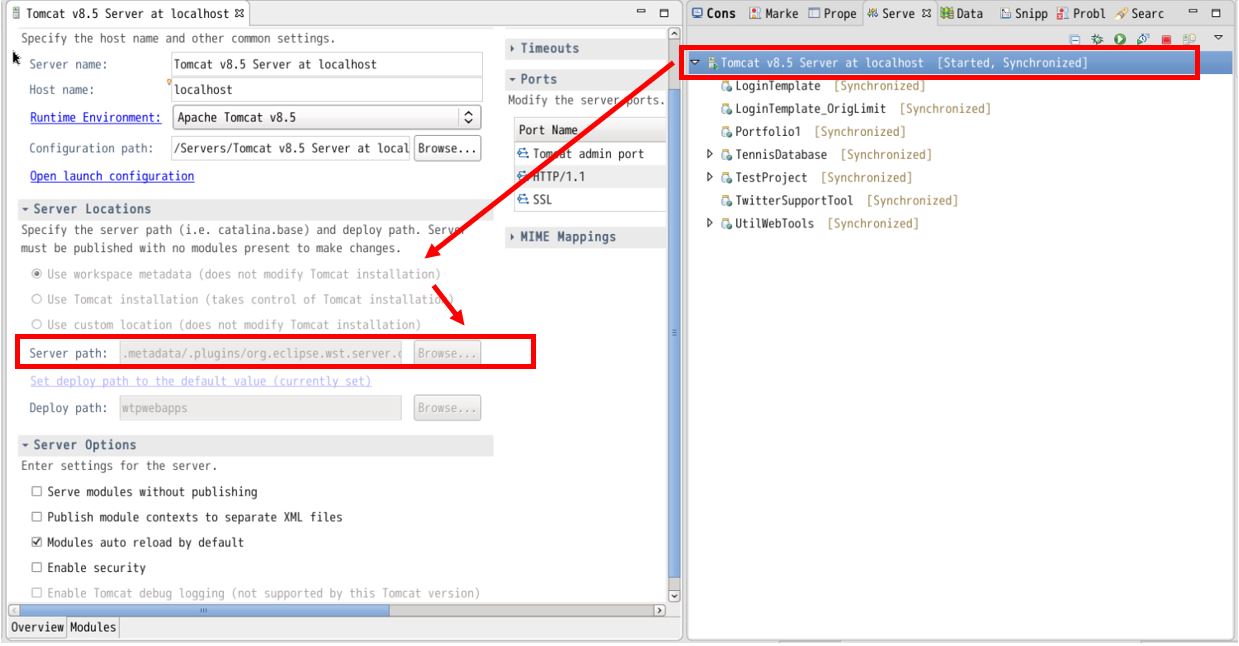
例で使用しているプロジェクトでは「form_auth」というディレクトリ配下に対して認証を行っており、要求ページ(例:AfterLogin1.jsp)をリクエストすると、認証未済の場合は自動でログイン画面が表示されます。
(図131)

フォーム認証自体の「仕組み」についても知りたい方は下記の別記事にてご紹介しているので、そちらも併せてご覧頂けたらと思います。
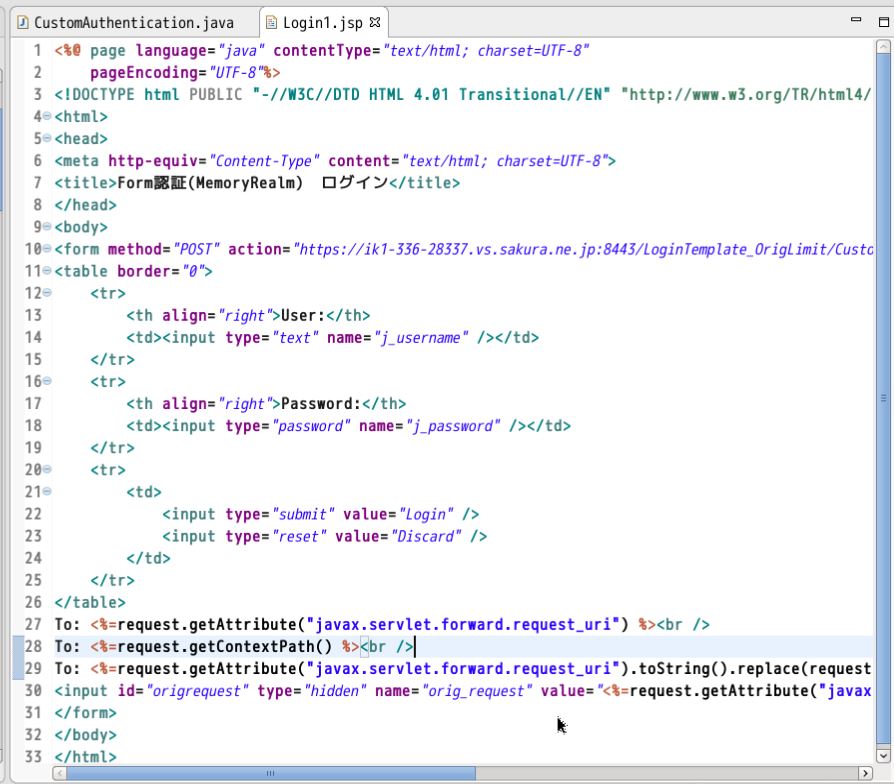
●JSP(ログインページ)
ログインページでは(利用例)でご紹介した通り、要求ページのURLを「getAttribute(“javax.servlet.forward.request_uri”)」で取得している所がポイントとなります。
ただし、ここで取得したURL情報を使ってログイン成功後にフォワードなりリダイレクトする際に、URLを相対パスで指定する際には、適切な部分から与えないと画面遷移に失敗してしまうため、注意が必要です。
(例)forwardは相対パスでURLを指定
例えば、次のようなfowardメソッドを使って画面遷移する場合は、アプリケーションルート(例:「https://ik1-336-28337.vs.sakura.ne.jp:8443/LoginTemplate_OrigLimit/」)以降のパスが必要です。
RequestDispatcher dispatch = request.getRequestDispatcher(forward_success);
dispatch.forward(request, response);
そのため、上述の「getAttribute(“javax.servlet.forward.request_uri”)」で取得できるURL「/LoginTemplate_OrigLimit/form_auth/AfterLogin1.jsp」から「/form_auth/AfterLogin1.jsp」の部分のみを抜き出したい場合があります。
そうした際は、次の表にあるように、Stringクラスの「replace」メソッド等を活用して不要な部分を置換していきます(①と②を組み合わせる事で目的の部分を抜き出せる)
//①
request.getAttribute("javax.servlet.forward.request_uri")
//⇒(結果)/LoginTemplate_OrigLimit/form_auth/AfterLogin1.jsp

//②
request.getContextPath()
//⇒(結果)/LoginTemplate_OrigLimit

//①と②の組合せ
request.getAttribute("javax.servlet.forward.request_uri").toString().replace(request.getContextPath(), "")
//⇒(結果)/form_auth/AfterLogin1.jsp
以上のポイントを踏まえて、サンプルプログラムをご紹介いたします。それ以外のフォーム認証に係る部分については本記事では深く触れませんが、もし興味ある方は下記の別記事をご覧ください。
(サンプル)ログイン画面
<%@ page language="java" contentType="text/html; charset=UTF-8"
  pageEncoding="UTF-8"%>
<!DOCTYPE html PUBLIC "-//W3C//DTD HTML 4.01 Transitional//EN" "http://www.w3.org/TR/html4/loose.dtd">
<html>
<head>
<meta http-equiv="Content-Type" content="text/html; charset=UTF-8">
<title>適当なタイトル</title>
</head>
<body>
<form method="POST" action="/CustomAuthentication" name="loginform">
<table border="0">
    <tr>
        <th align="right">User:</th>
        <td><input type="text" name="j_username" /></td>
    </tr>
    <tr>
        <th align="right">Password:</th>
        <td><input type="password" name="j_password" /></td>
    </tr>
    <tr>
        <td>
            <input type="submit" value="Login" />
            <input type="reset" value="Discard" />
        </td>
    </tr>
</table>
To: <%=request.getAttribute("javax.servlet.forward.request_uri") %><br />
To: <%=request.getContextPath() %><br />
To: <%=request.getAttribute("javax.servlet.forward.request_uri").toString().replace(request.getContextPath(), "") %><br />
<input id="origrequest" type="hidden" name="orig_request" value="<%=request.getAttribute("javax.servlet.forward.request_uri").toString().replace(request.getContextPath(), "") %>"/>
</form>
</body>
</html>
(図132)
●カスタム認証サーブレット
サーブレット側でポイントとなるのは、ログイン画面で取得した「要求ページ」のURL情報をリクエストのgetParameterメソッドを使って取り出しており、それを画面遷移先として活用している点です。
//# 元々の要求画面の情報をLogin1.jspのhiddenフィールドを通じて取得
String forward_success = "."+request.getParameter("orig_request");
以上のポイントを踏まえて、サンプルプログラムをご紹介いたします。それ以外のフォーム認証に係る部分については本記事では深く触れませんが、もし興味ある方は下記の別記事をご覧ください。
(サンプル)カスタム認証サーブレット
import java.io.IOException;

import javax.servlet.RequestDispatcher;
import javax.servlet.ServletException;
import javax.servlet.annotation.WebServlet;
import javax.servlet.http.HttpServlet;
import javax.servlet.http.HttpServletRequest;
import javax.servlet.http.HttpServletResponse;

@WebServlet("/CustomAuthentication")
public class CustomAuthentication extends HttpServlet {
  private static final long serialVersionUID = 1L;

  protected void doPost(HttpServletRequest request, HttpServletResponse response) throws ServletException, IOException {

    //# 遷移先画面
    //# 元々の要求画面の情報をLogin1.jspのhiddenフィールドを通じて取得
    String forward_success = "."+request.getParameter("orig_request");
    //# ログインエラー時の遷移先画面
    String forward_error = "/LoginError1.jsp";
    //# ログイン画面で入力されたID/パスワードを取得
    String user = request.getParameter("j_username");
    String passwd = request.getParameter("j_password");

    try {
      request.login(user, passwd);
      //# ログイン成功時の処理
    } catch(ServletException e) {
      e.printStackTrace();
      //# ログイン失敗時の処理
    }
  }
}
(図133)

(操作動画)
以下の流れを動画にしています。
①「AfterLogin.jsp」を要求 ⇒ ②ログイン画面にて上記URLを取得 ⇒ 認証成功 ⇒ ③要求画面に遷移