<目次>
(1) Valgrindとは?使い方や概要をご紹介(メモリリーク検知ツール)
(1-1) Valgrindとは?
(1-2) Valgrindの導入方法
(1-3) Valgrindの使い方(HelloWorld)
(1) Valgrindとは?使い方や概要をご紹介(メモリリーク検知ツール)
本記事ではLinuxにおけるC++のメモリリーク等の検知ツールである「Valgrind」のインストール~疎通までの手順についてご紹介します。
(1-1) Valgrindとは?
(1-2) Valgrindの導入方法
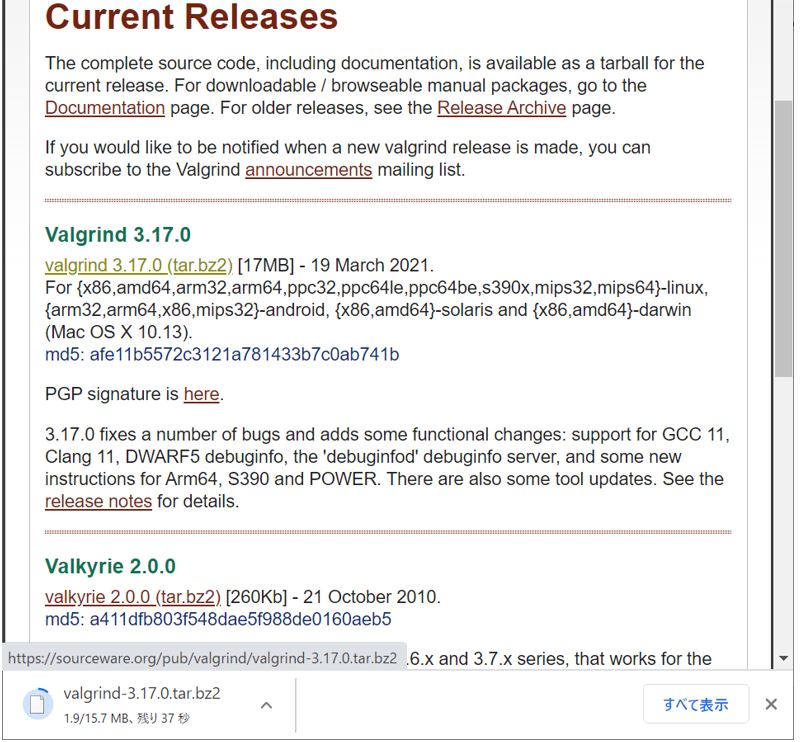
●STEP1:ソフトウェアのダウンロード
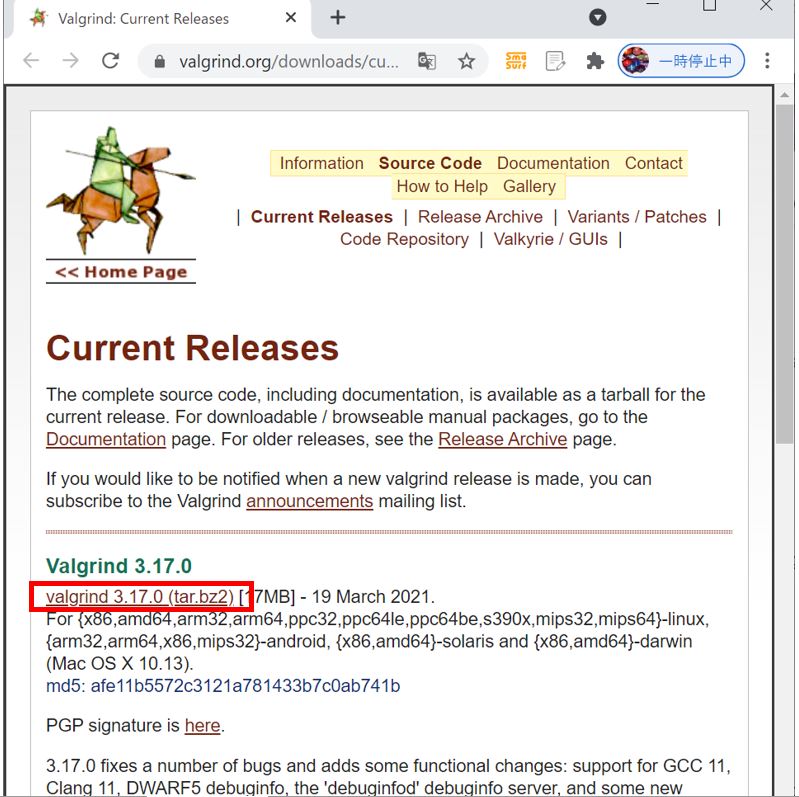
↓
(図111)②
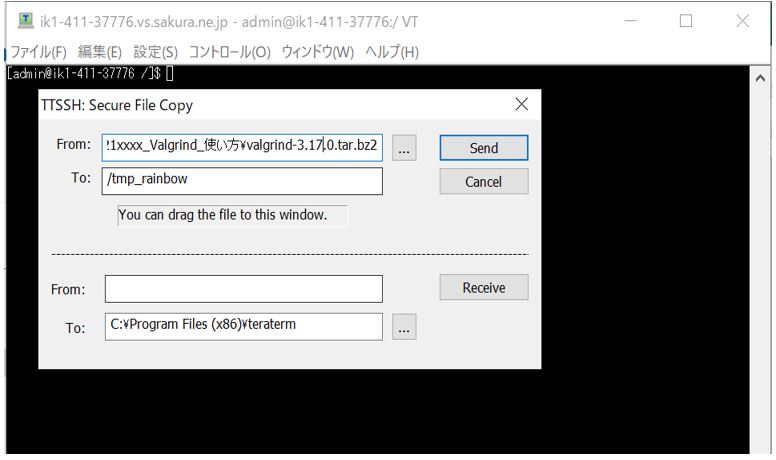
●STEP2:サーバへの配備
↓
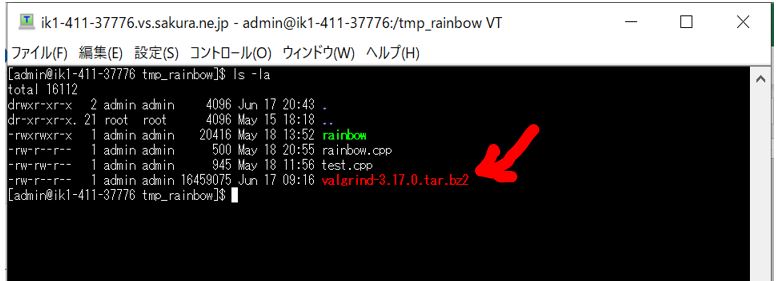
●STEP3:ファイルの解凍
bzip2 -d valgrind-XX.XX.XX.tar.bz2
tar -xf valgrind-XX.XX.XX.tar
(例)
bzip2 -d valgrind-3.17.0.tar.bz2
tar -xf valgrind-3.17.0.tar
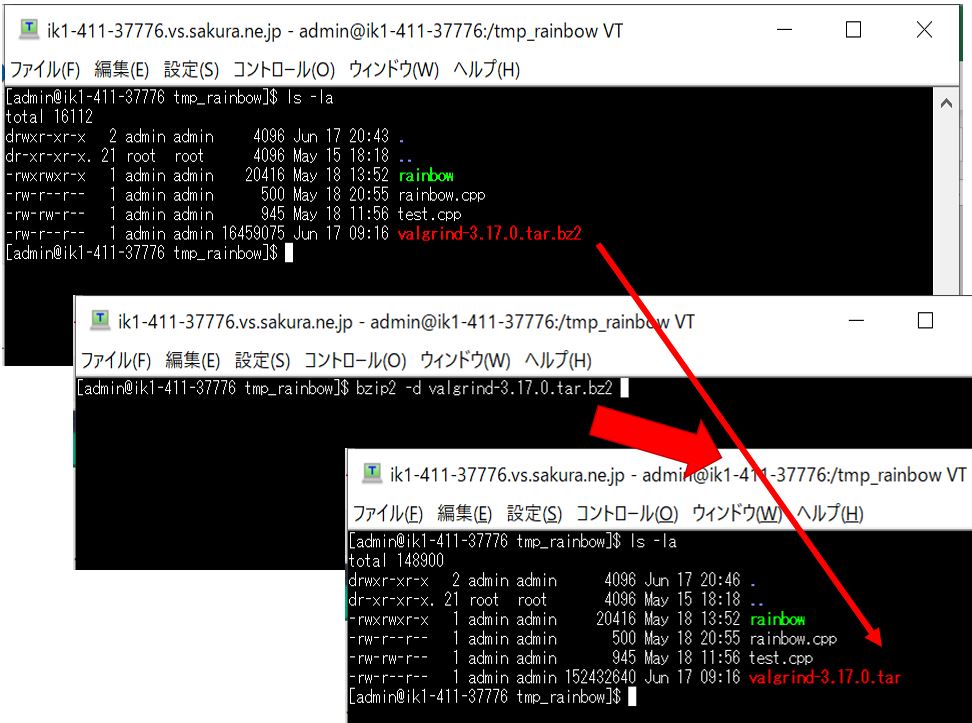
(図113)②
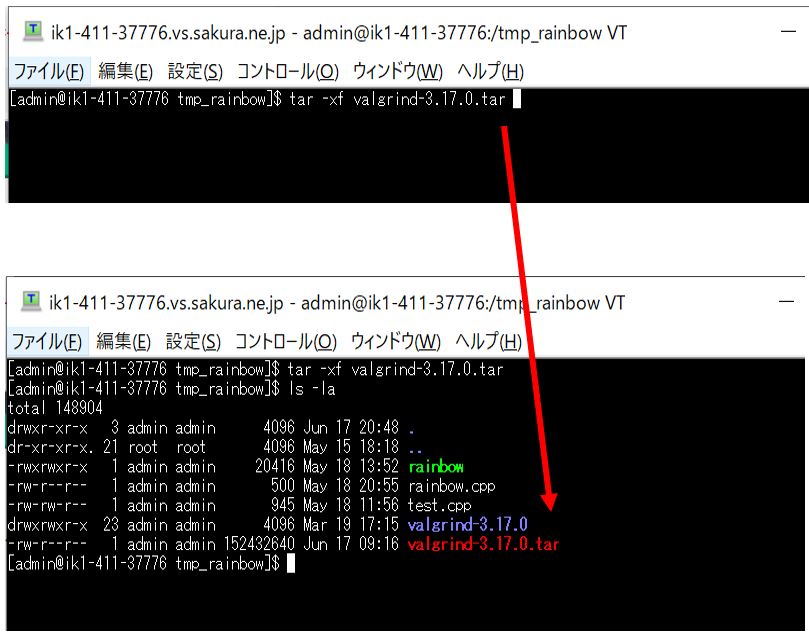
●STEP4:インストール
$ cd ./valgrind-3.17.0/
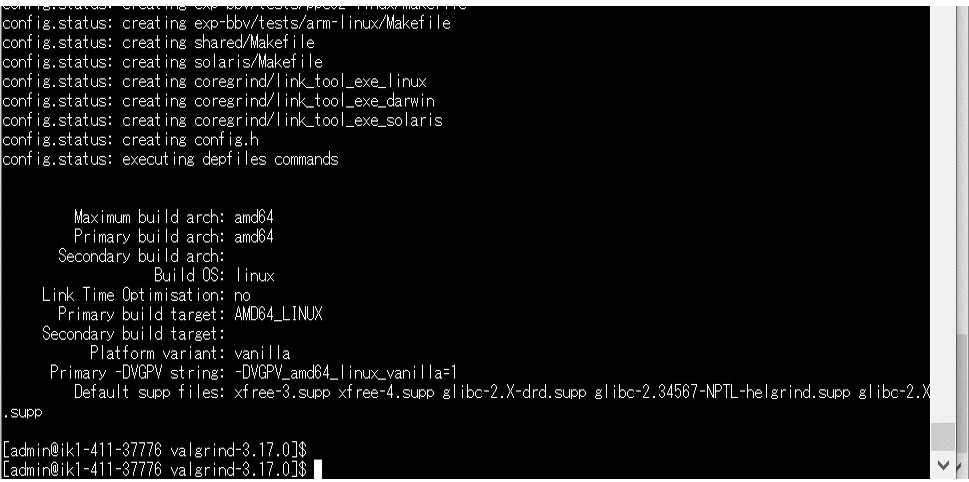
$ ./configure

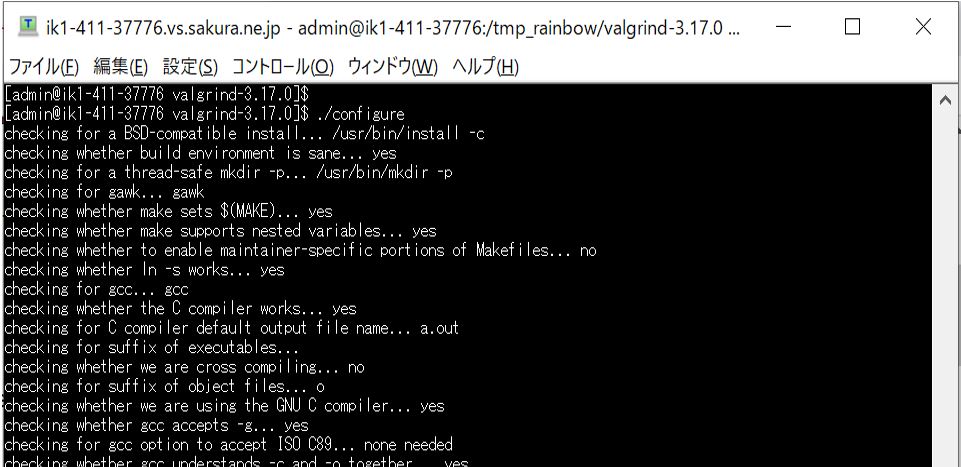
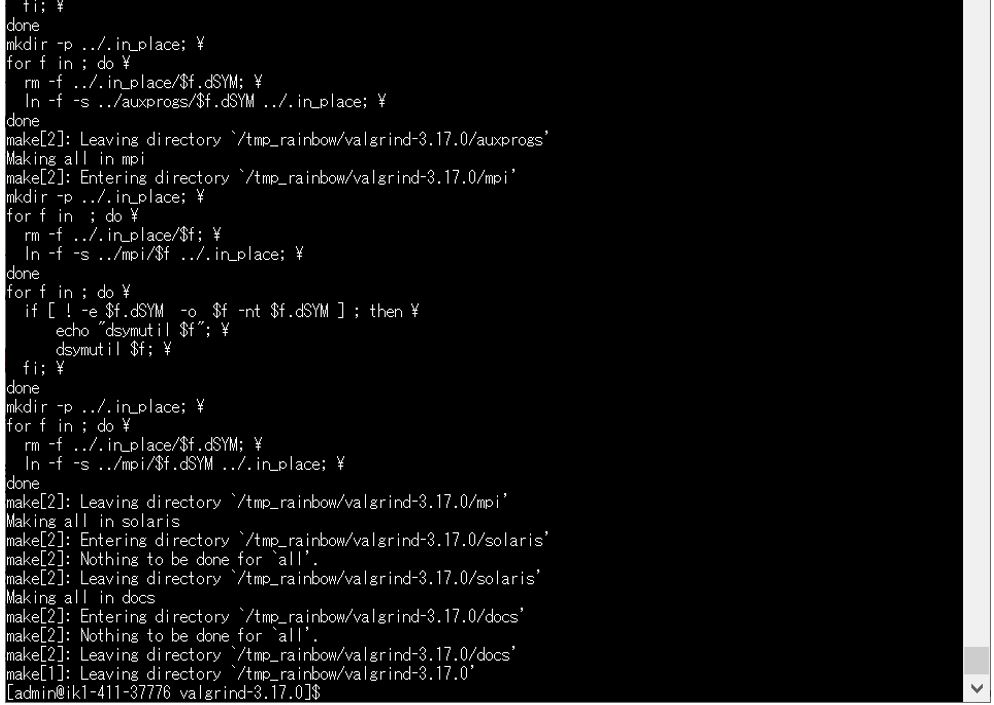
$ make

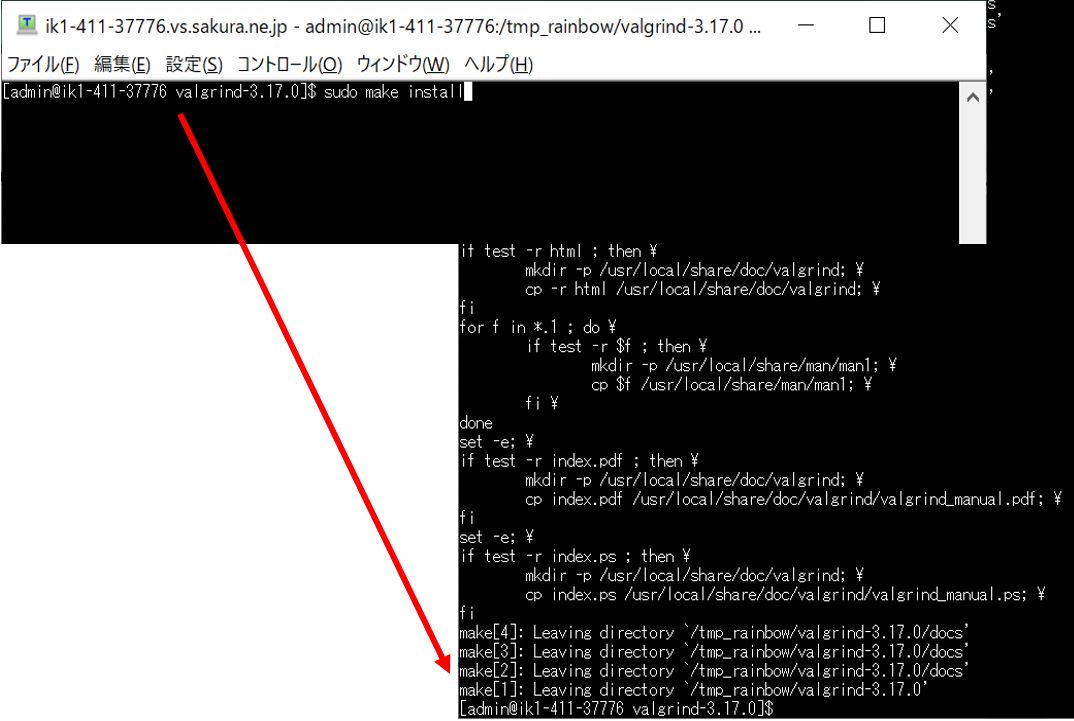
$ sudo make install
(1-3) Valgrindの使い方(HelloWorld)
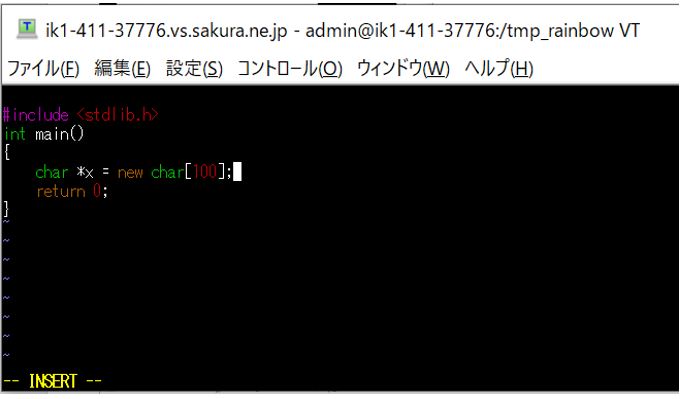
●サンプルプログラムの作成
#include
int main()
{
    char *x = new char[100];
    return 0;
}
●サンプルプログラムのコンパイル
$ g++ -o [実行ファイル名] [プログラム名]
$ g++ -o memorytest memorytest.cpp
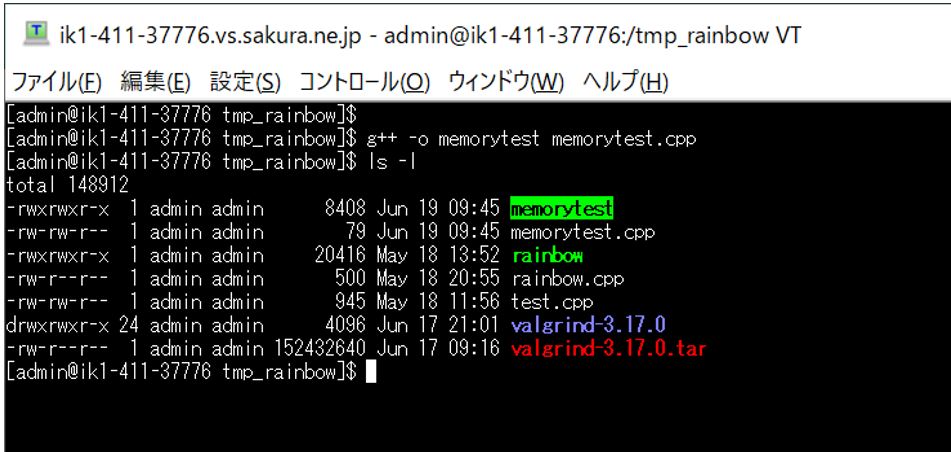
●Valgrindによるチェック実施
$ cd ./valgrind-3.17.0/

$ valgrind --tool=memcheck プログラム実行ファイル名

[admin@ik1-411-37776 valgrind-3.17.0]$ valgrind --tool=memcheck ../memorytest
==8152== Memcheck, a memory error detector
==8152== Copyright (C) 2002-2017, and GNU GPL'd, by Julian Seward et al.
==8152== Using Valgrind-3.17.0 and LibVEX; rerun with -h for copyright info
==8152== Command: ../memorytest
==8152==
==8152==
==8152== HEAP SUMMARY:
==8152==     in use at exit: 100 bytes in 1 blocks
==8152==   total heap usage: 1 allocs, 0 frees, 100 bytes allocated
==8152==
==8152== LEAK SUMMARY:
==8152==    definitely lost: 100 bytes in 1 blocks
==8152==    indirectly lost: 0 bytes in 0 blocks
==8152==      possibly lost: 0 bytes in 0 blocks
==8152==    still reachable: 0 bytes in 0 blocks
==8152==         suppressed: 0 bytes in 0 blocks
==8152== Rerun with --leak-check=full to see details of leaked memory
==8152==
==8152== For lists of detected and suppressed errors, rerun with: -s
==8152== ERROR SUMMARY: 0 errors from 0 contexts (suppressed: 0 from 0)
[admin@ik1-411-37776 valgrind-3.17.0]$

/RP-IT0520_111_ErrorImage.jpg)
