<目次>
FitBitのAPIを使って心拍数を取得する(Python)
やりたいこと/概要
STEP1:APIの準備
STEP2:【Python】ライブラリのインストール
STEP3:API認証(Access TokenとRefresh Tokenを取得)
STEP4:【Python】心拍数の取得⇒データ加工⇒表示と出力
FitBitのAPIを使って心拍数を取得する(Python)
やりたいこと/概要
本記事では、FitBitのAPIを活用して、自分の心拍数データをリアルタイムに取得し、Pythonでデータの加工・可視化を行う手順を解説します。APIの登録から認証、データ取得、最終的なグラフ表示まで、一連のプロセスを順を追って説明します。
STEP1:APIの準備
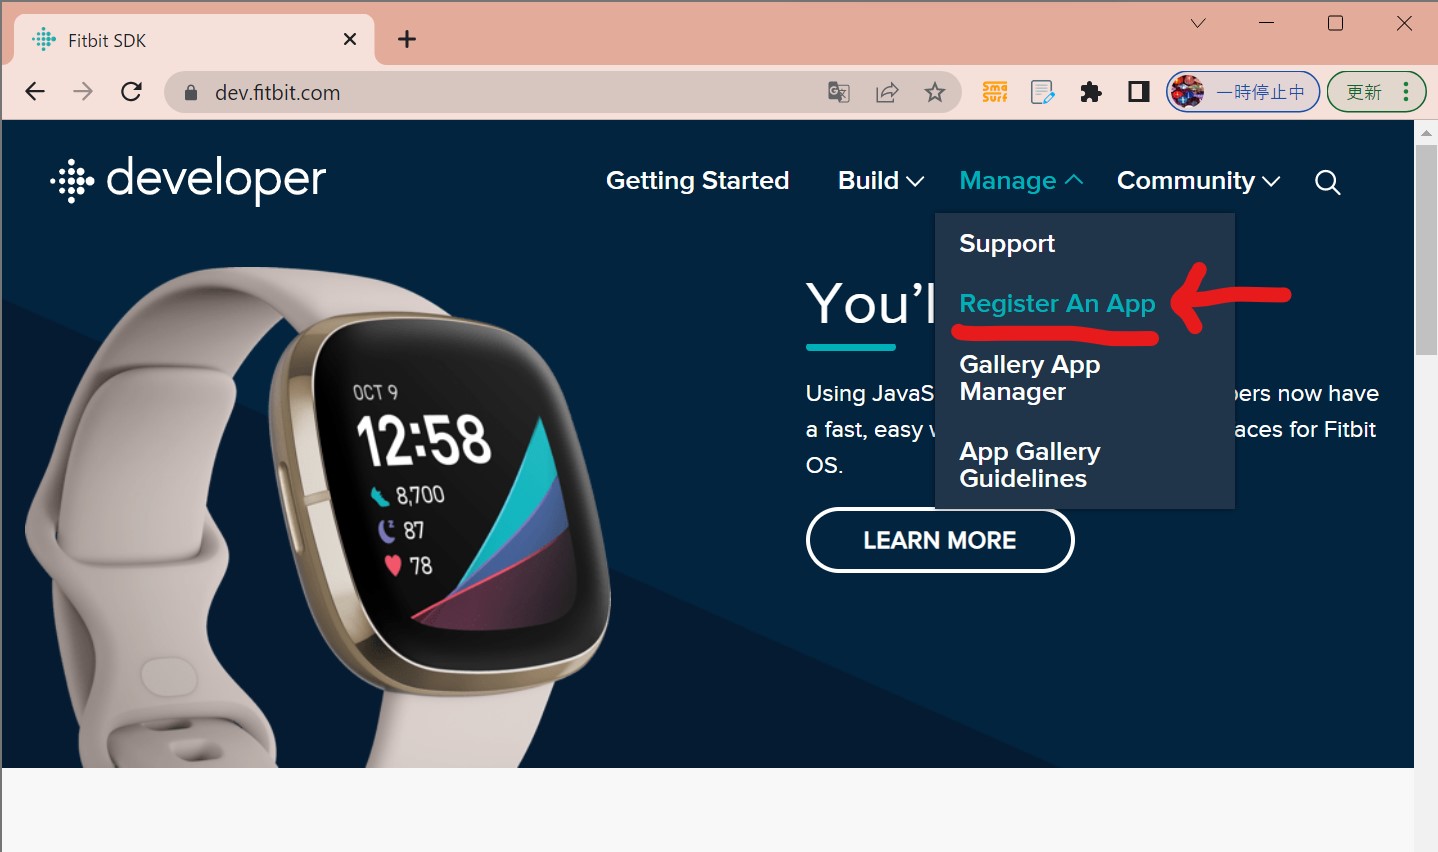
STEP1-1:アプリケーションの作成
・①開発者サイトのメニューから「Register An App」を選択
(図111)
↓
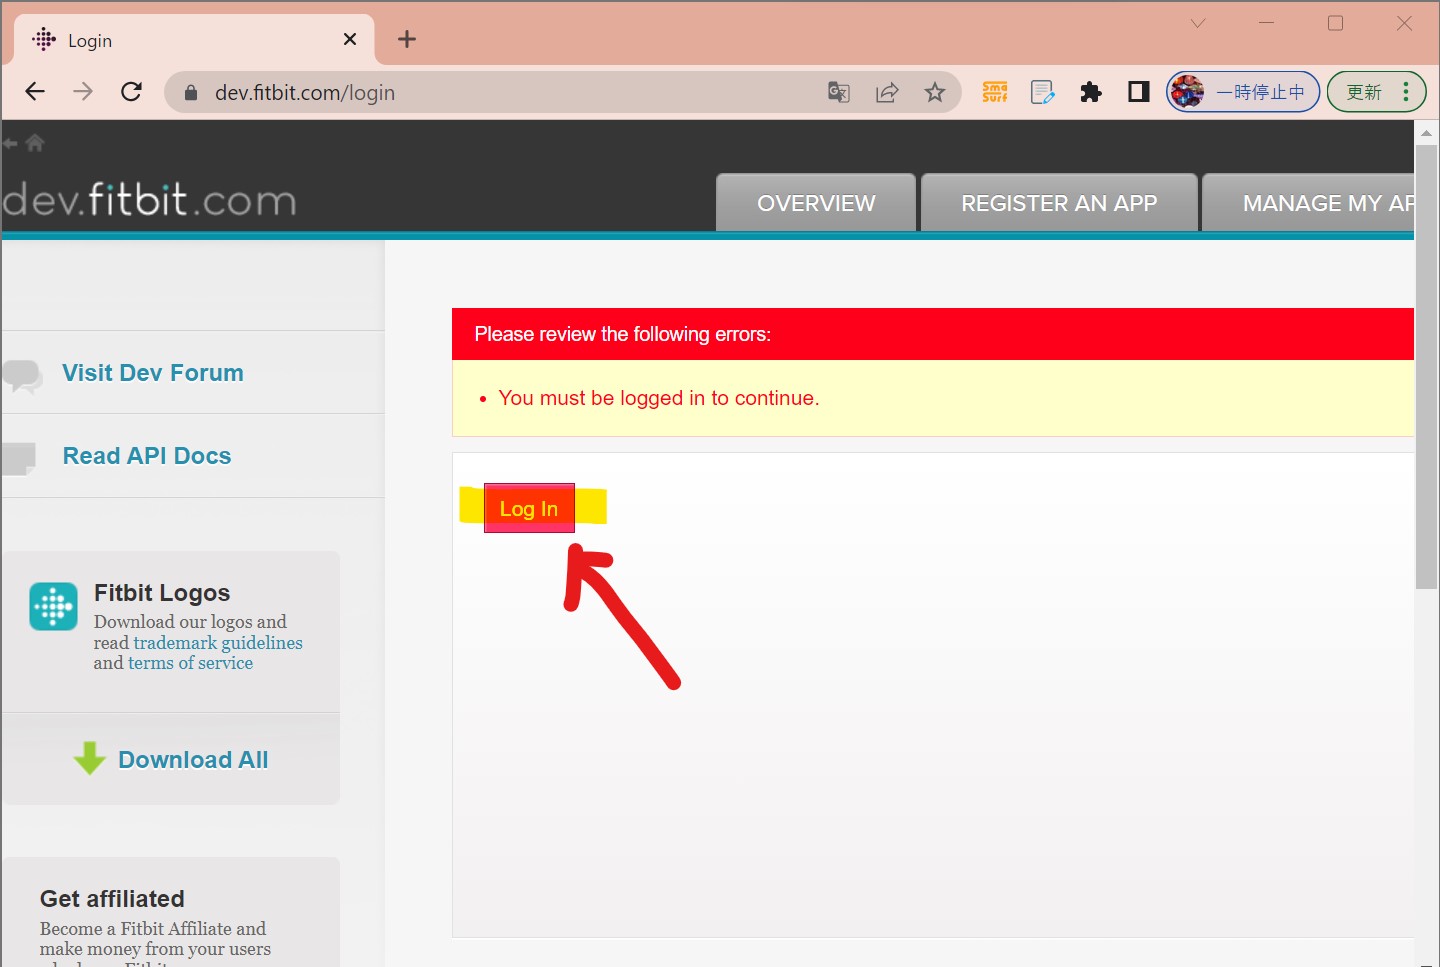
・②「Log In」押下
(図112)
↓
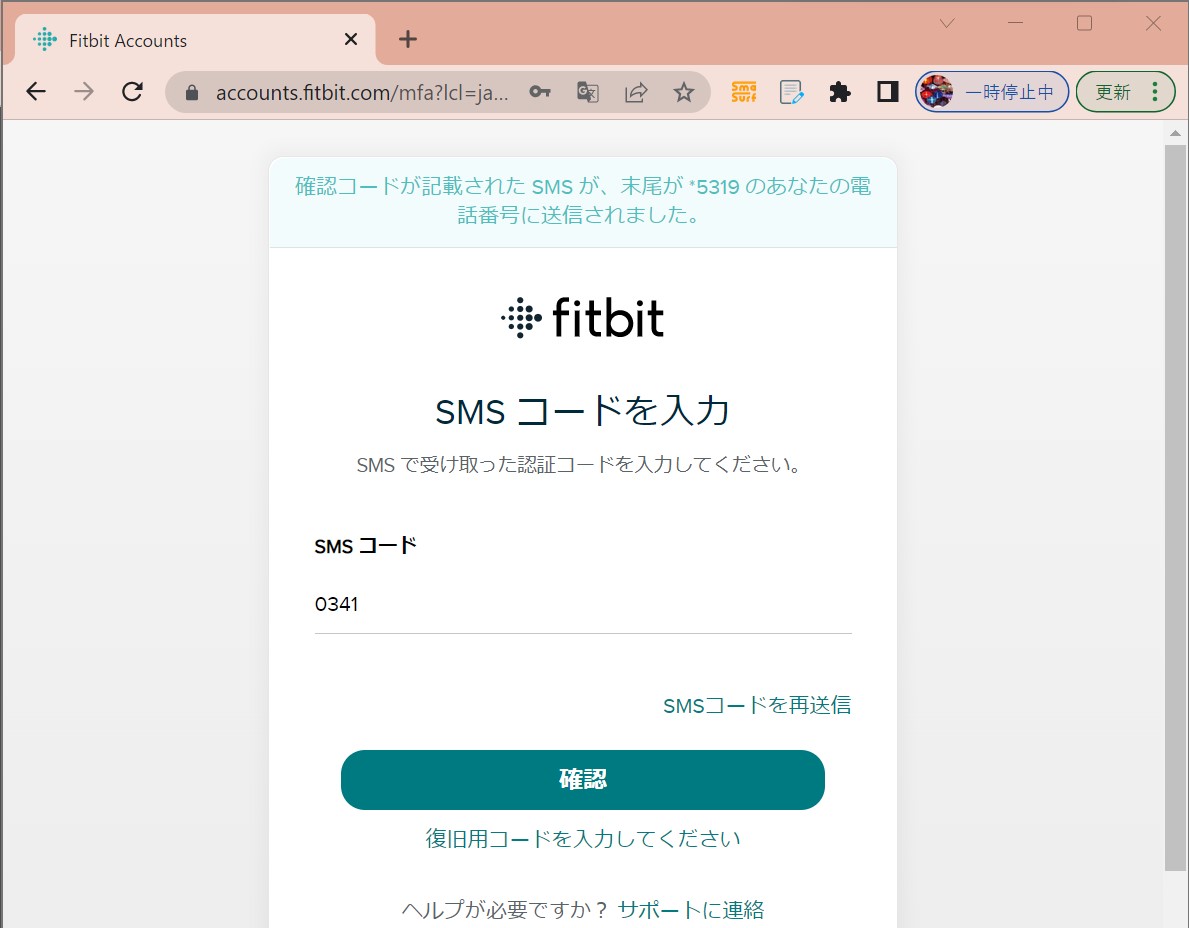
・③サインイン
(図113①)
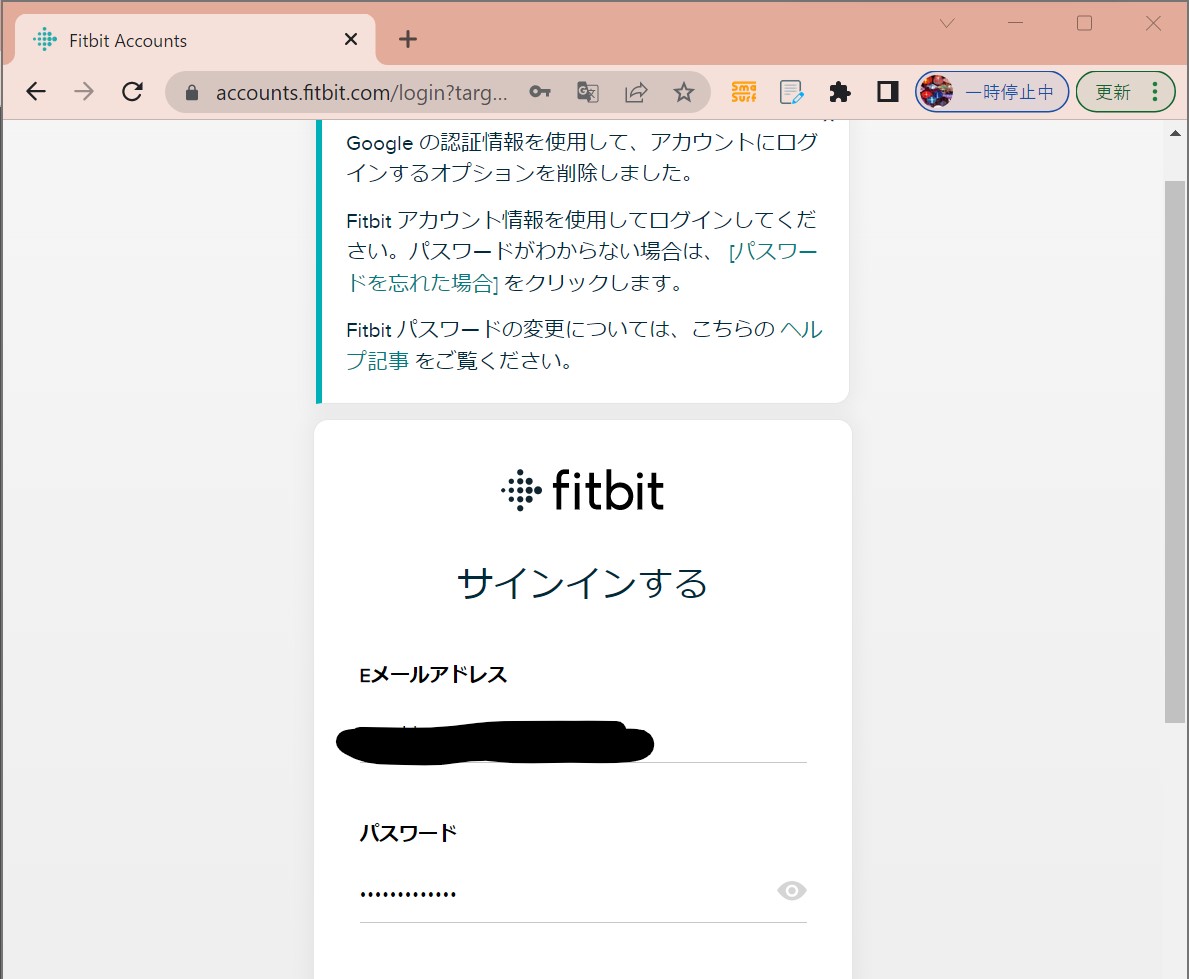
(図113②)
↓
↓
・④ログイン完了
(図114)
↓
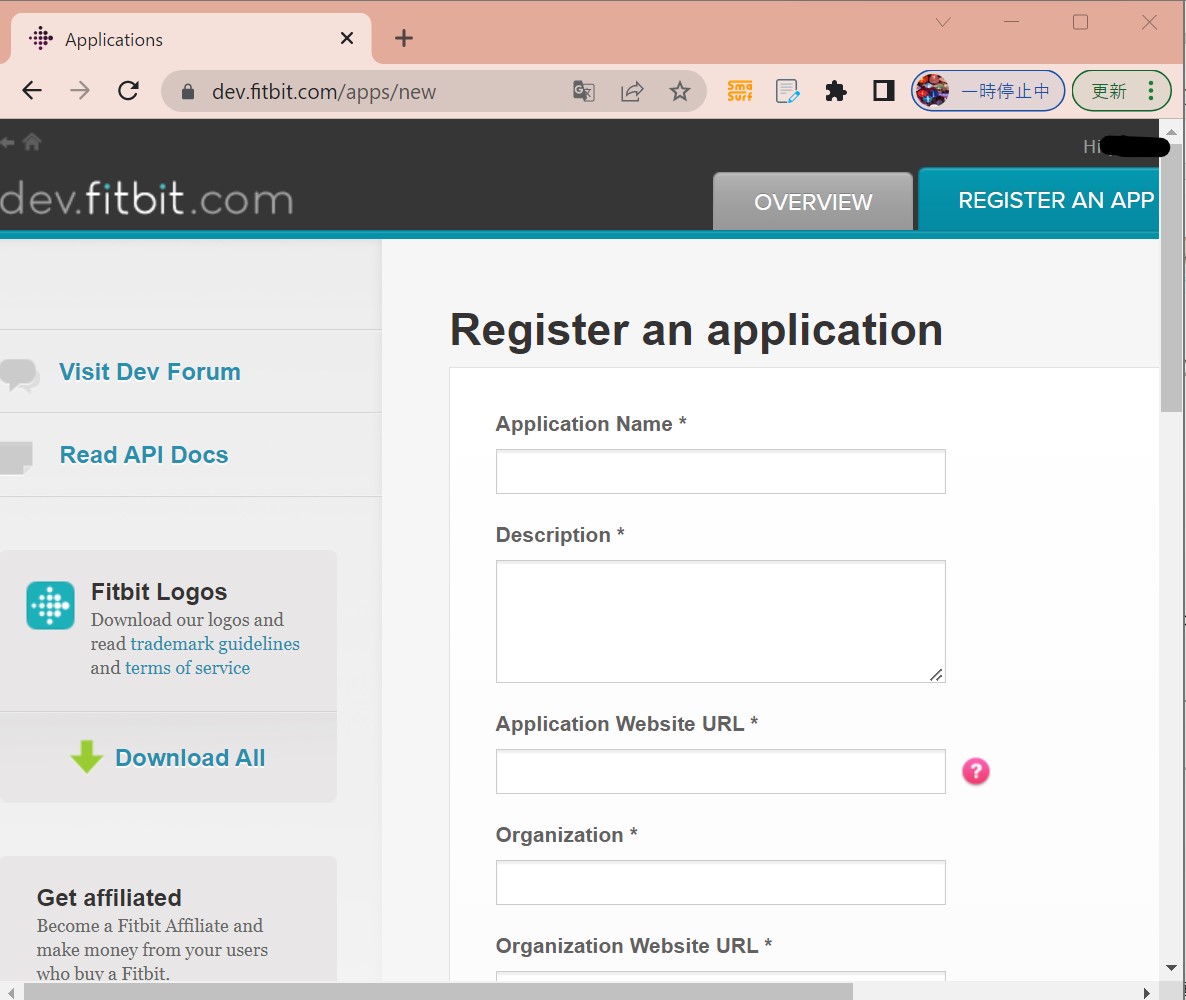
・⑤アプリ登録に必要な情報を入力する
(図115)
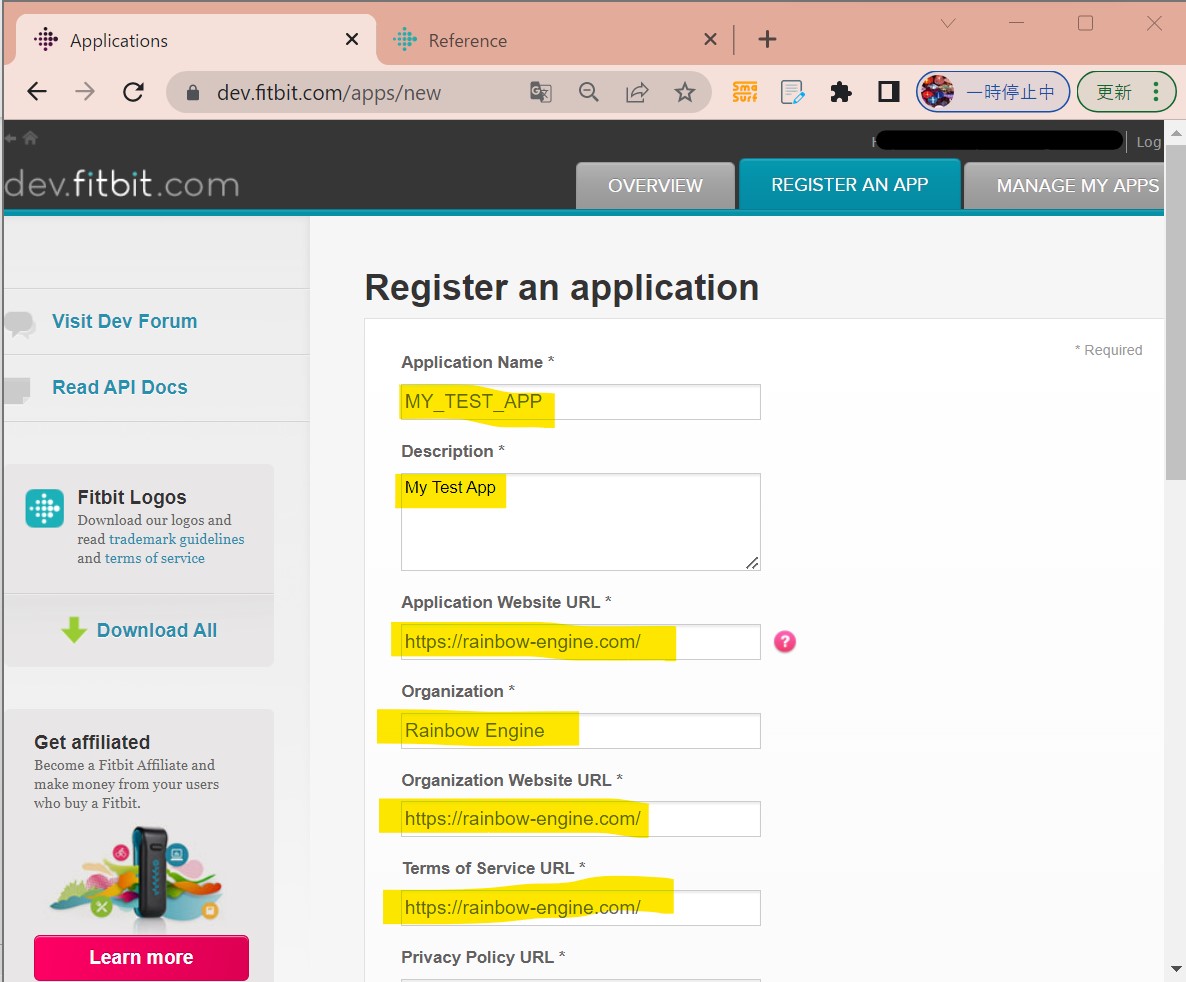
(図116)
↓
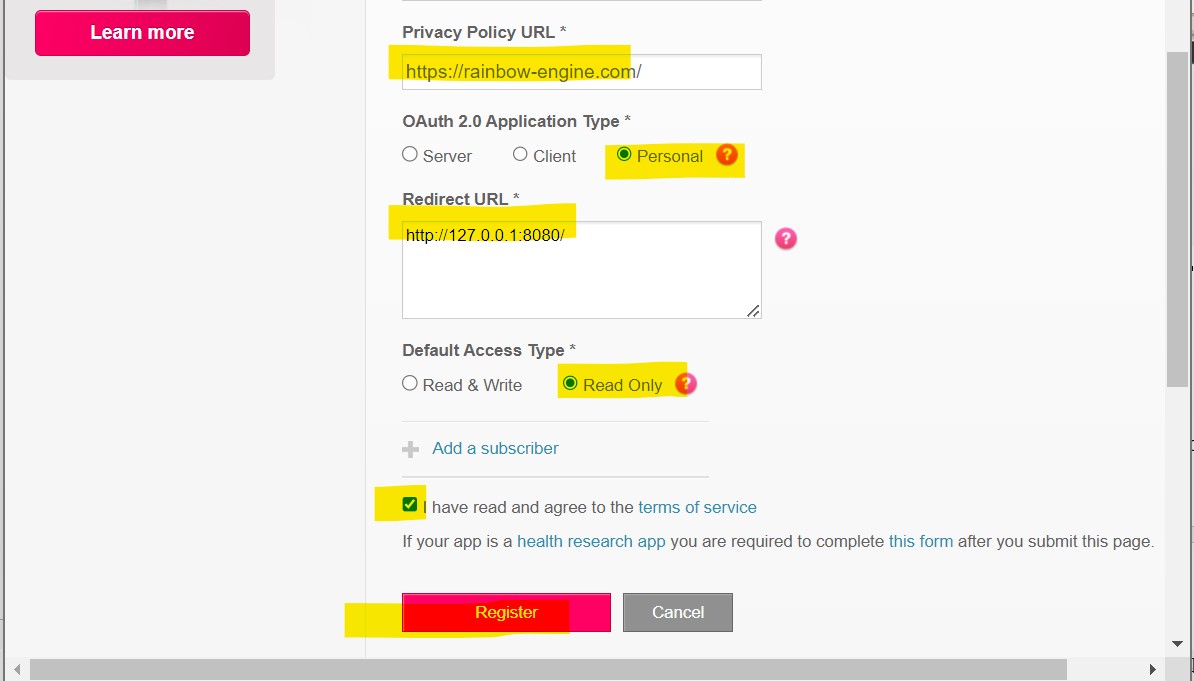
(図117)
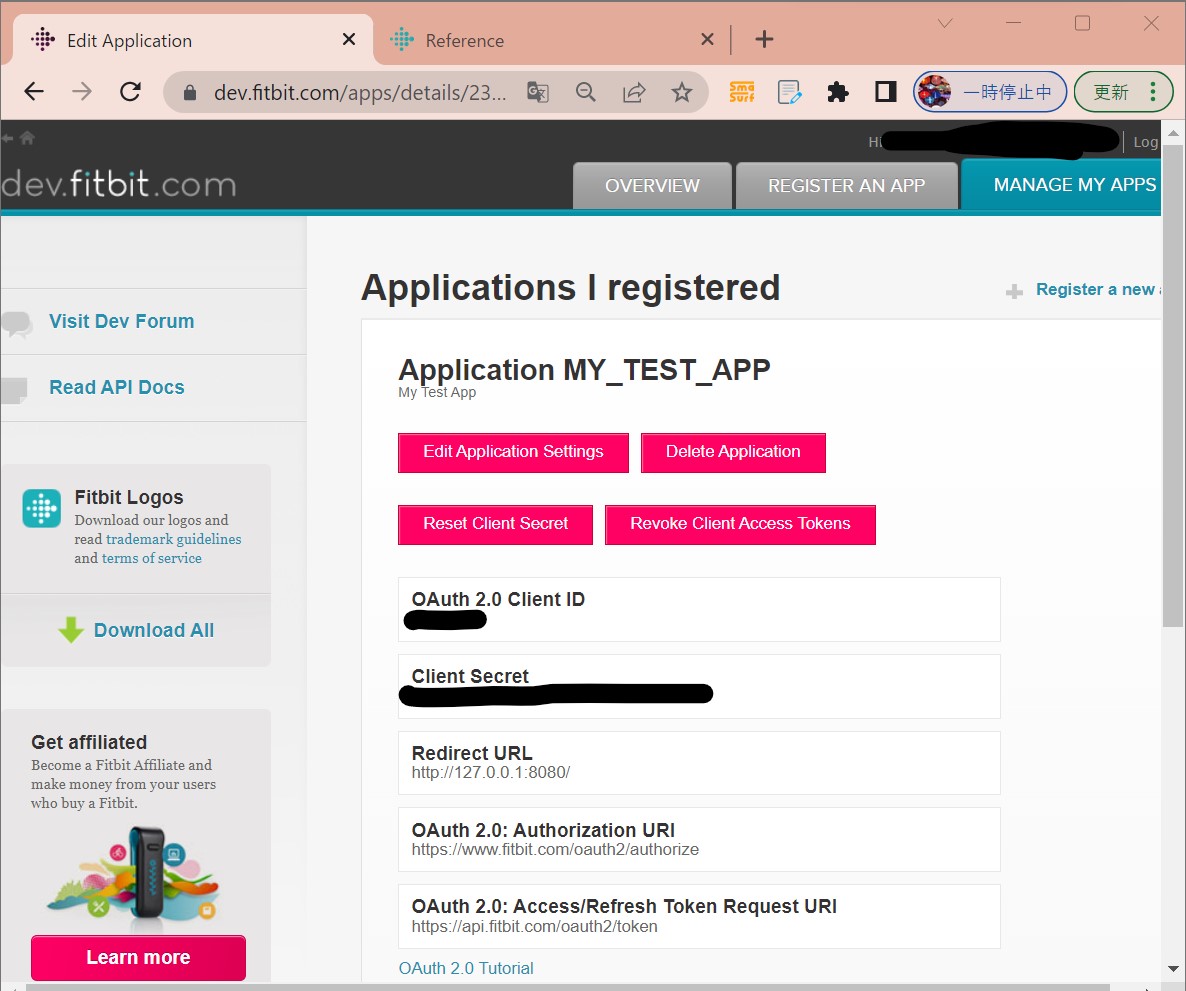
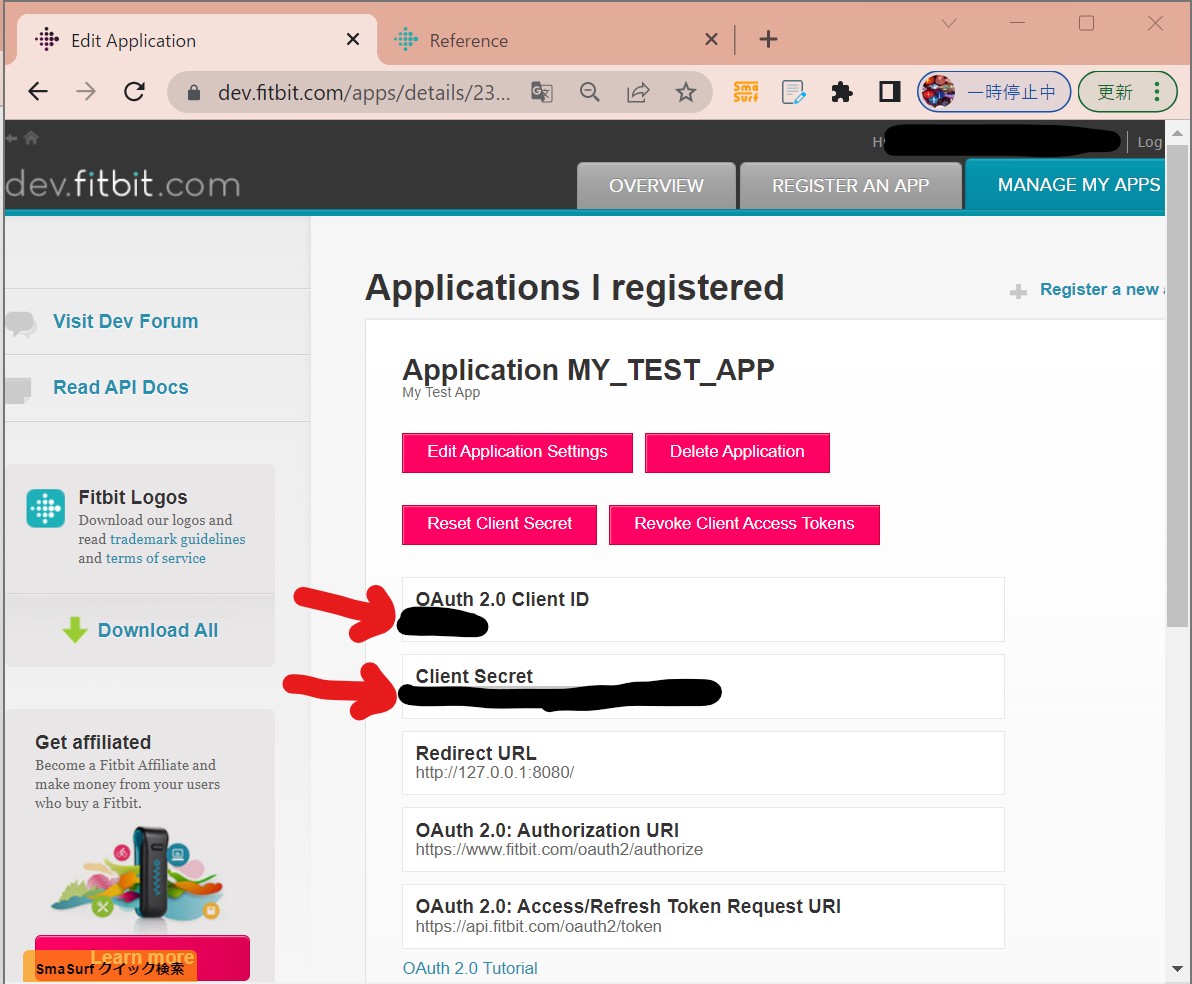
STEP1-2:Client IDとClient Secretを取得
アプリケーション登録後、管理画面に表示されるClient IDとClient Secretをコピーし、後続の認証手順で利用できるよう控えておきます。
(図121)
STEP1-3:Access TokenとRefresh Tokenを取得
・①Webブラウザが起動し、FitBitの認証画面に遷移するので、ログインして認証を実施します。
(図131)

STEP2:【Python】ライブラリのインストール
・①コマンドプロンプト(またはターミナル)からpipを利用して、fitbitライブラリのインストールを実行します。
FitBitの操作で必要
> pip install fitbit
(図211)
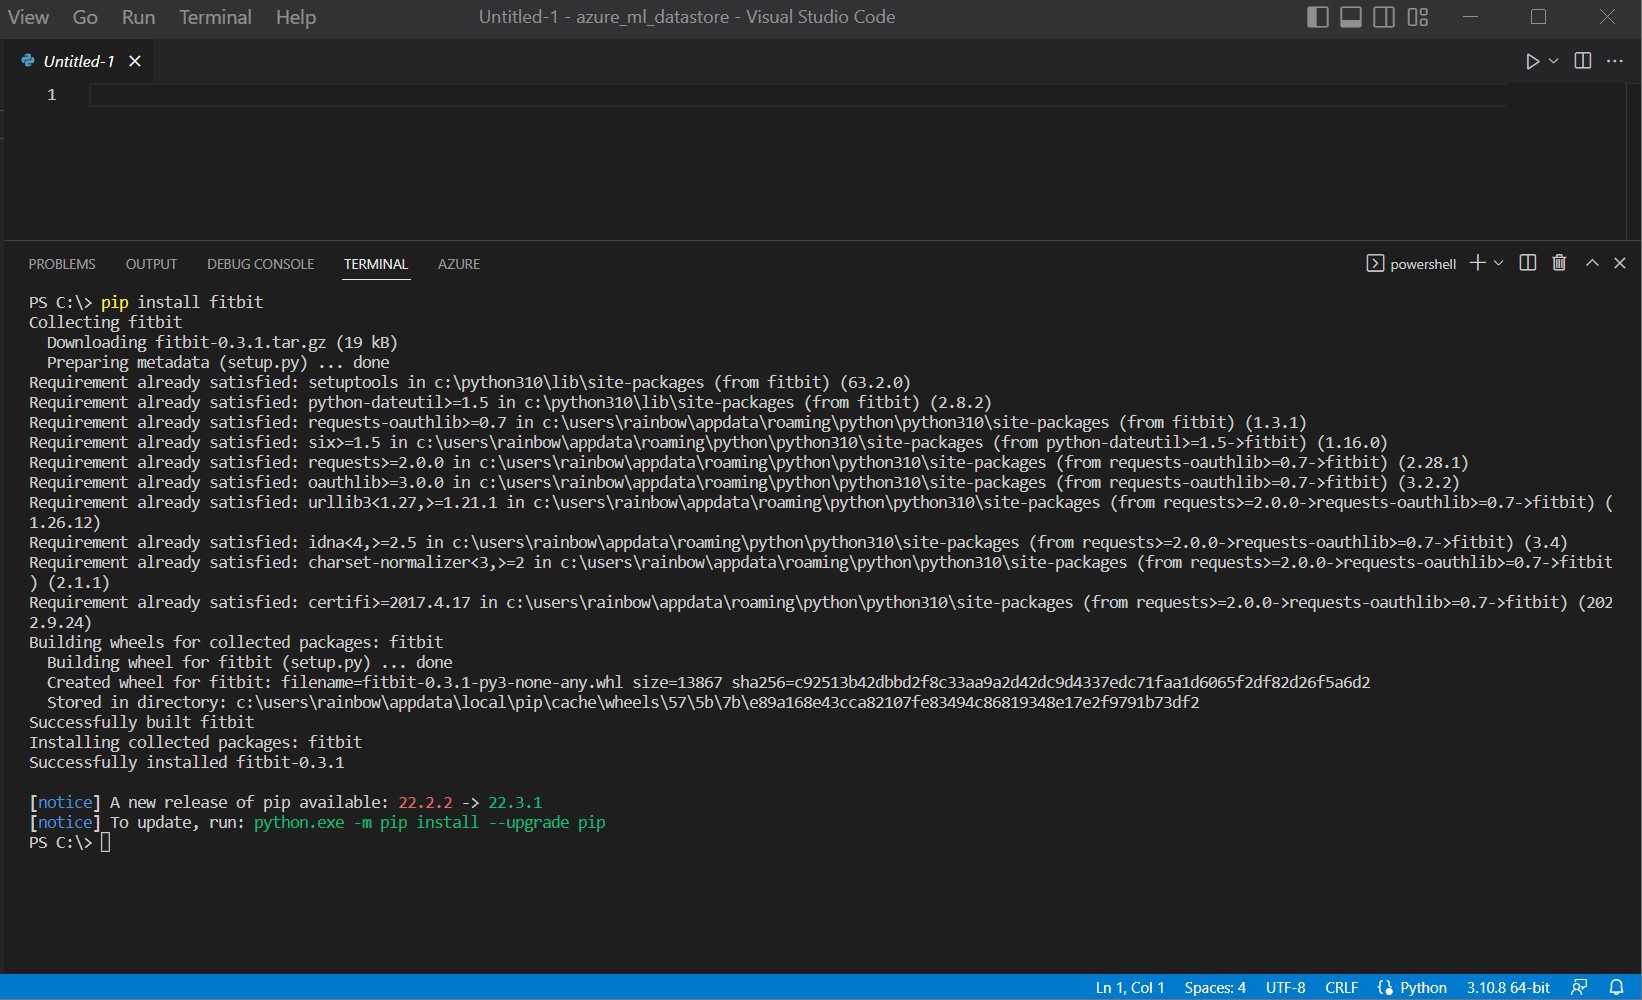
(結果例)
Collecting fitbit
  Downloading fitbit-0.3.1.tar.gz (19 kB)
  Preparing metadata (setup.py) ... done
~中略~
Successfully built fitbit
Installing collected packages: fitbit
Successfully installed fitbit-0.3.1
STEP3:API認証(Access TokenとRefresh Tokenを取得)
・①Cherrypyパッケージをインストールして、認証用のローカルサーバー環境を整えます。
認証の「gather_keys_oauth2.py」で必要
> pip install cherrypy
(図212)

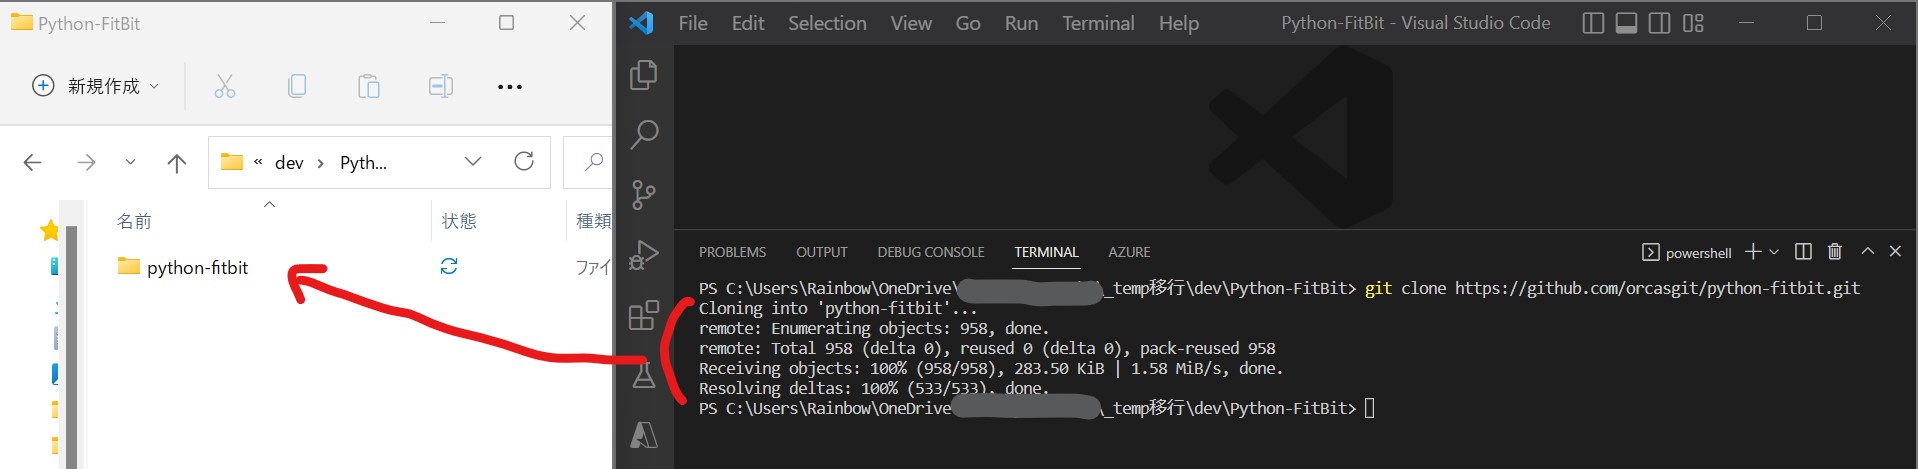
・②GitHubからpython-fitbitリポジトリをクローンし、必要なスクリプト類をローカルに用意します。
> git clone https://github.com/orcasgit/python-fitbit.git
(図311①)
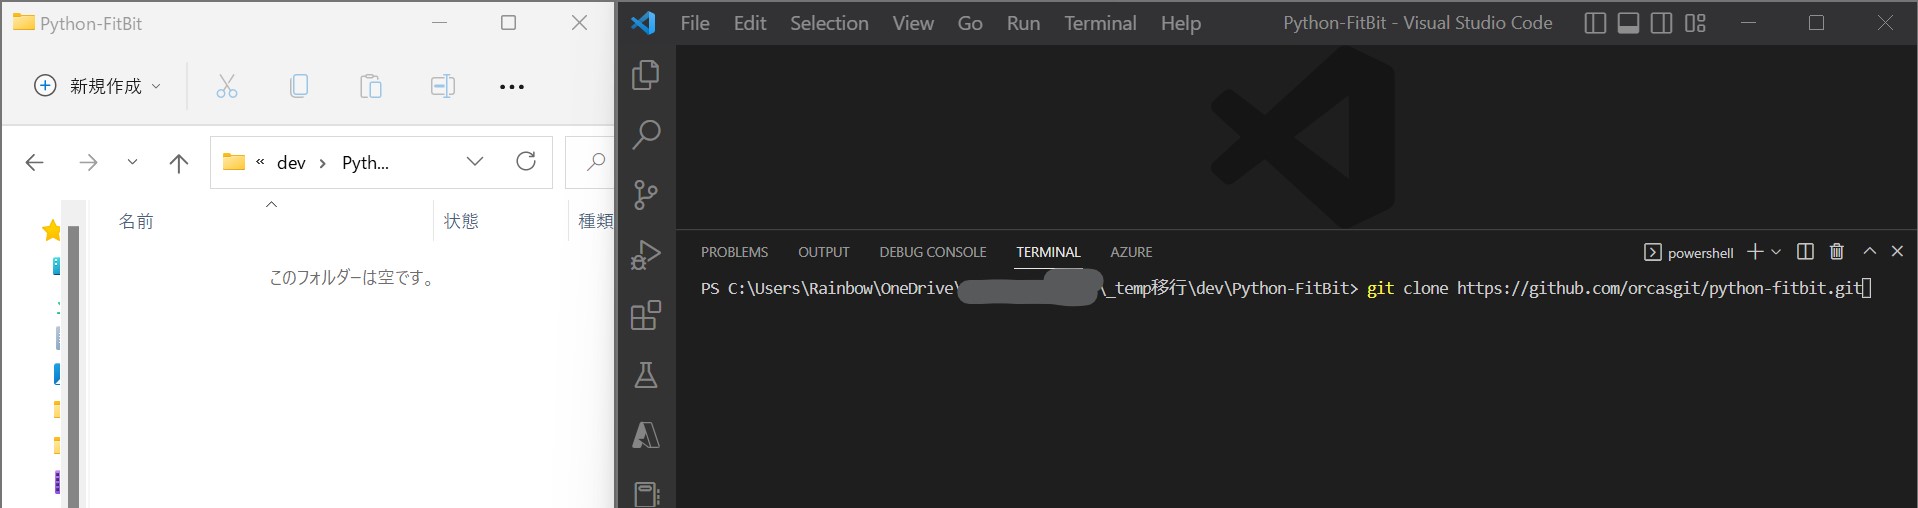
(図311②)
↓
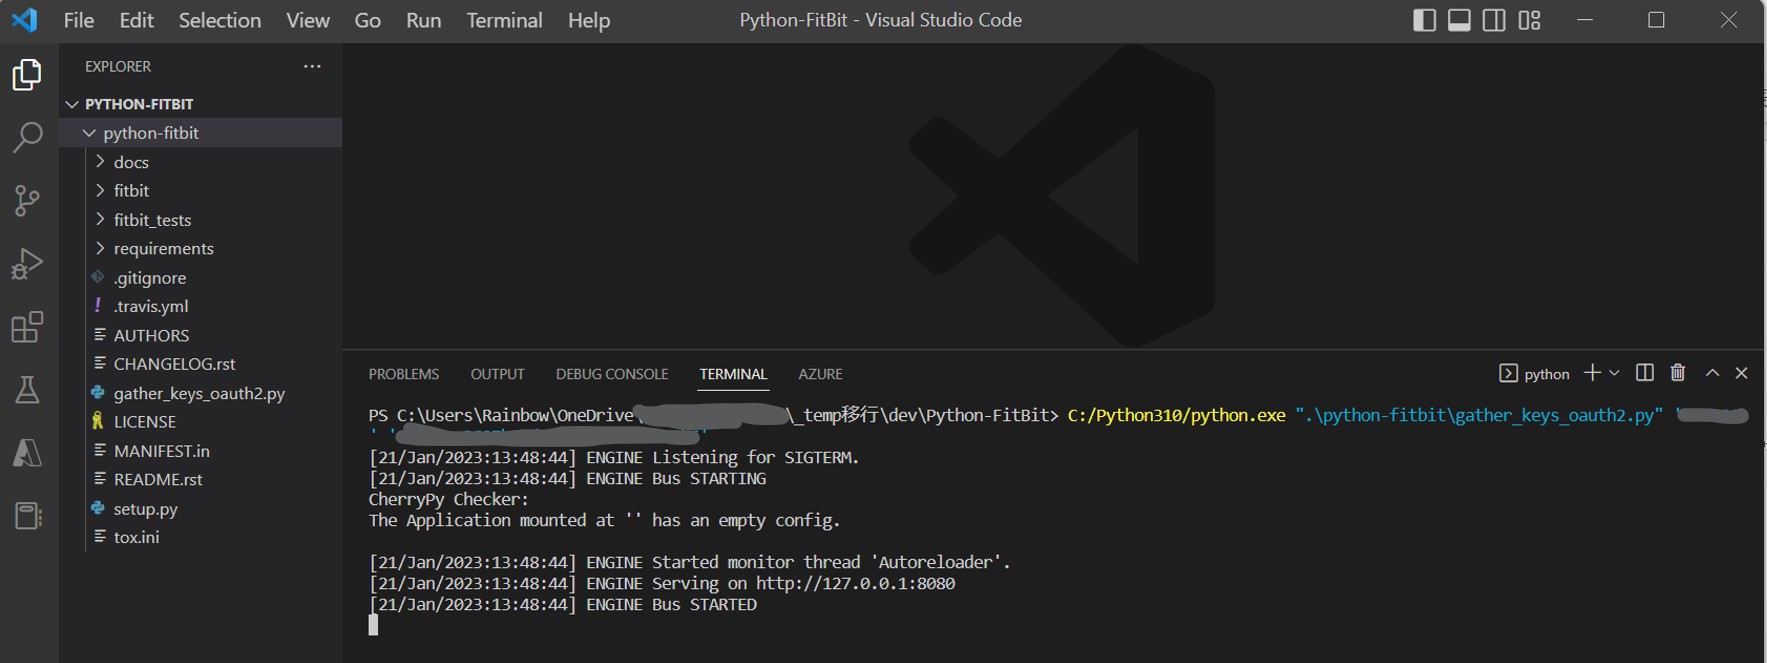
・③コマンド実行
(例)
> C:/Python310/python.exe ".\python-fitbit\gather_keys_oauth2.py" '[ご自身のClient ID]' '[ご自身のClient Secret]'
(図312)
↓
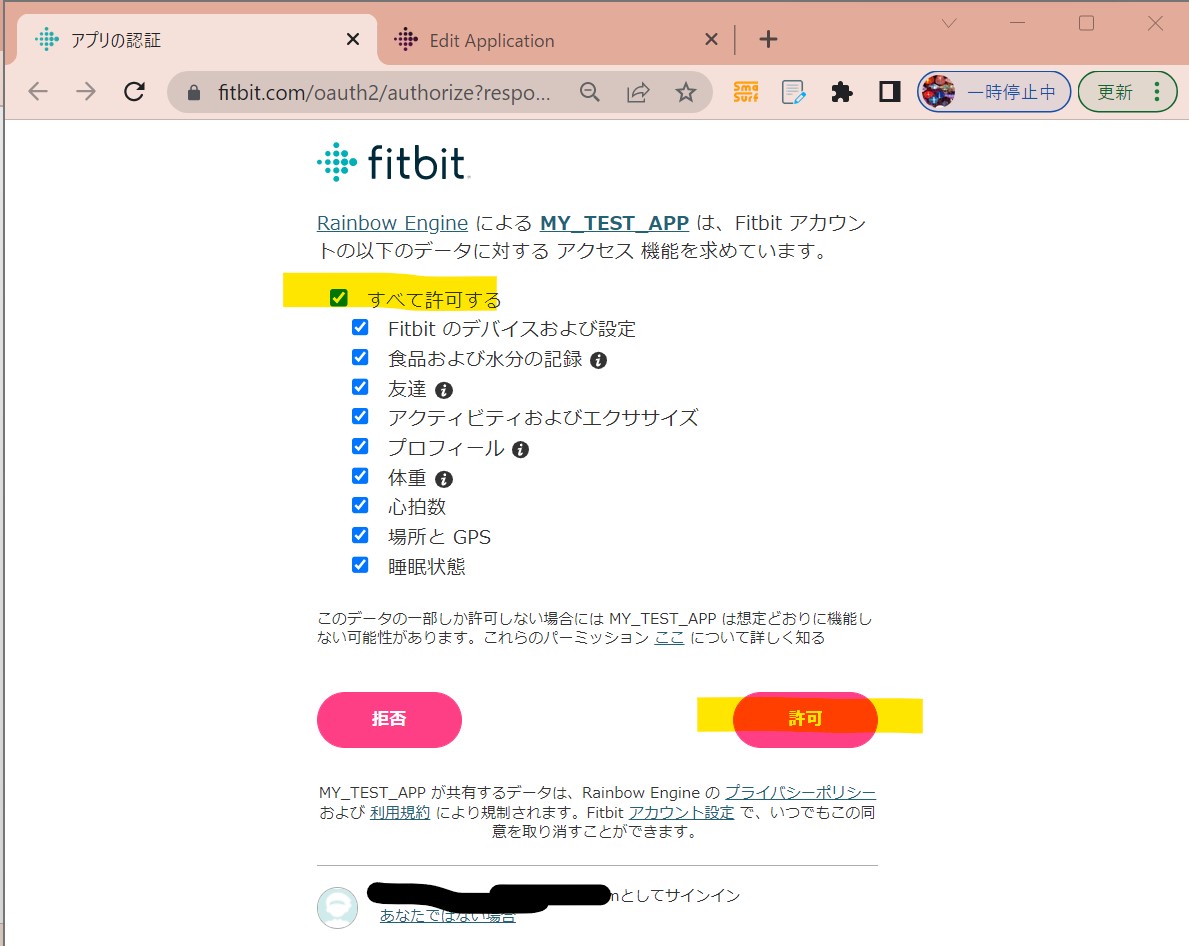
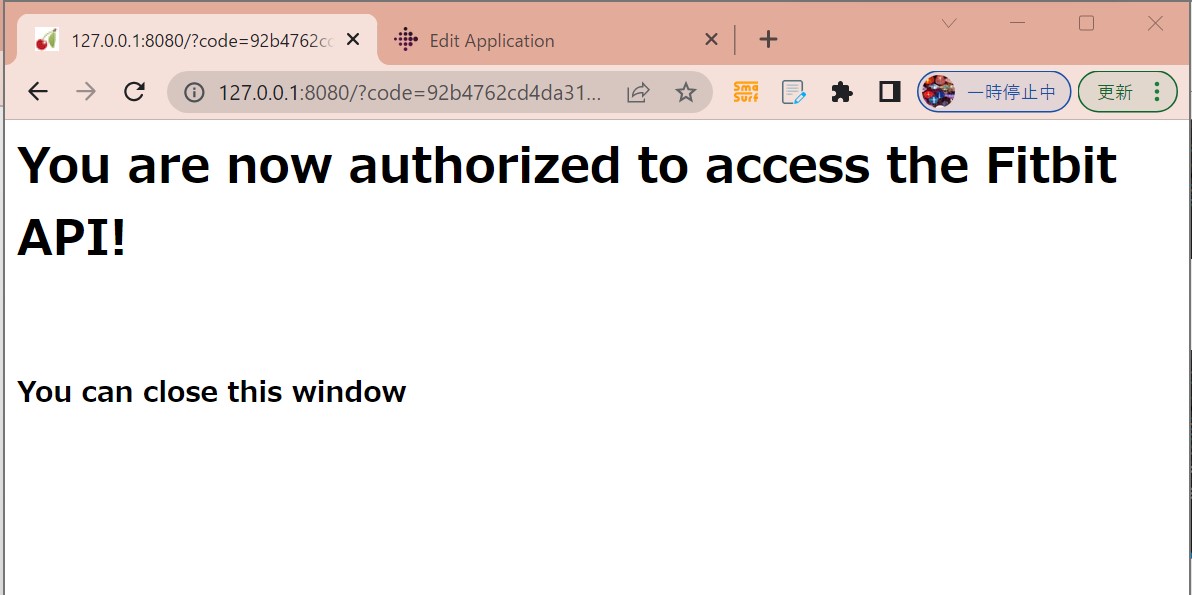
・④画面が開く
(図313)
↓
・⑥表示された認証画面で「許可」をクリックし、認証手続きを完了させます
(図314①)
↓
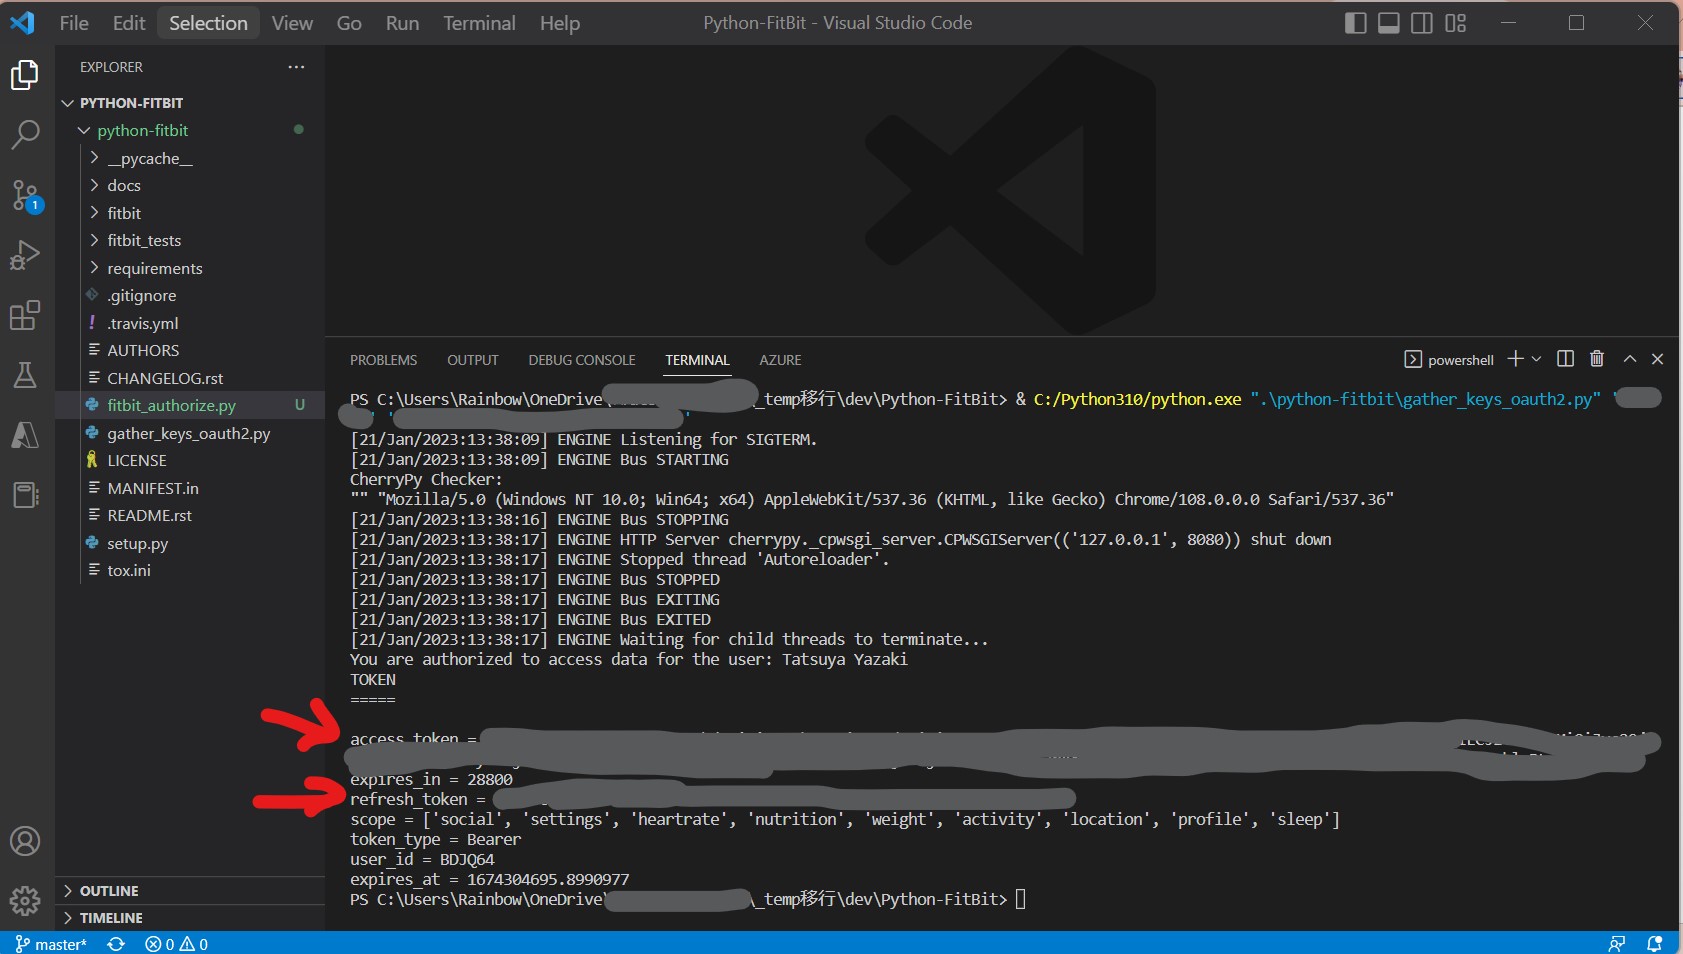
・⑦ターミナルにcodeが表示される
(図314②)
(結果例)
[21/Jan/2023:13:38:09] ENGINE Listening for SIGTERM.
[21/Jan/2023:13:38:09] ENGINE Bus STARTING
CherryPy Checker:
"" "Mozilla/5.0 (Windows NT 10.0; Win64; x64) AppleWebKit/537.36 (KHTML, like Gecko) Chrome/108.0.0.0 Safari/537.36"
[21/Jan/2023:13:38:16] ENGINE Bus STOPPING
[21/Jan/2023:13:38:17] ENGINE HTTP Server cherrypy._cpwsgi_server.CPWSGIServer(('127.0.0.1', 8080)) shut down
[21/Jan/2023:13:38:17] ENGINE Stopped thread 'Autoreloader'.
[21/Jan/2023:13:38:17] ENGINE Bus STOPPED
[21/Jan/2023:13:38:17] ENGINE Bus EXITING[21/Jan/2023:13:38:17] ENGINE Bus EXITED
[21/Jan/2023:13:38:17] ENGINE Waiting for child threads to terminate...
You are authorized to access data for the user: 氏名
TOKEN
=====

access_token = xxxxxxxxxxxxxxxxx
expires_in = 28800
refresh_token = xxxxxxxxxxxxxxxxx
scope = ['social', 'settings', 'heartrate', 'nutrition', 'weight', 'activity', 'location', 'profile', 'sleep']
token_type = Bearer
user_id = xxxx
expires_at = 1674304695.8990977
STEP4:【Python】心拍数の取得⇒データ加工⇒表示と出力:
STEP4-1:取得
(サンプルプログラム)
import fitbit
import pandas as pd
# メモしたID等
CLIENT_ID = "xxx"
CLIENT_SECRET = "xxxxxxxxxxxx"
ACCESS_TOKEN = "xxxxxxxxxxxx"
REFRESH_TOKEN = "xxxxxxxxxxxx"
# 取得したい日付
DATE = "2023-01-20"
# ID等の設定
authd_client = fitbit.Fitbit(CLIENT_ID, CLIENT_SECRET
,access_token=ACCESS_TOKEN, refresh_token=REFRESH_TOKEN)
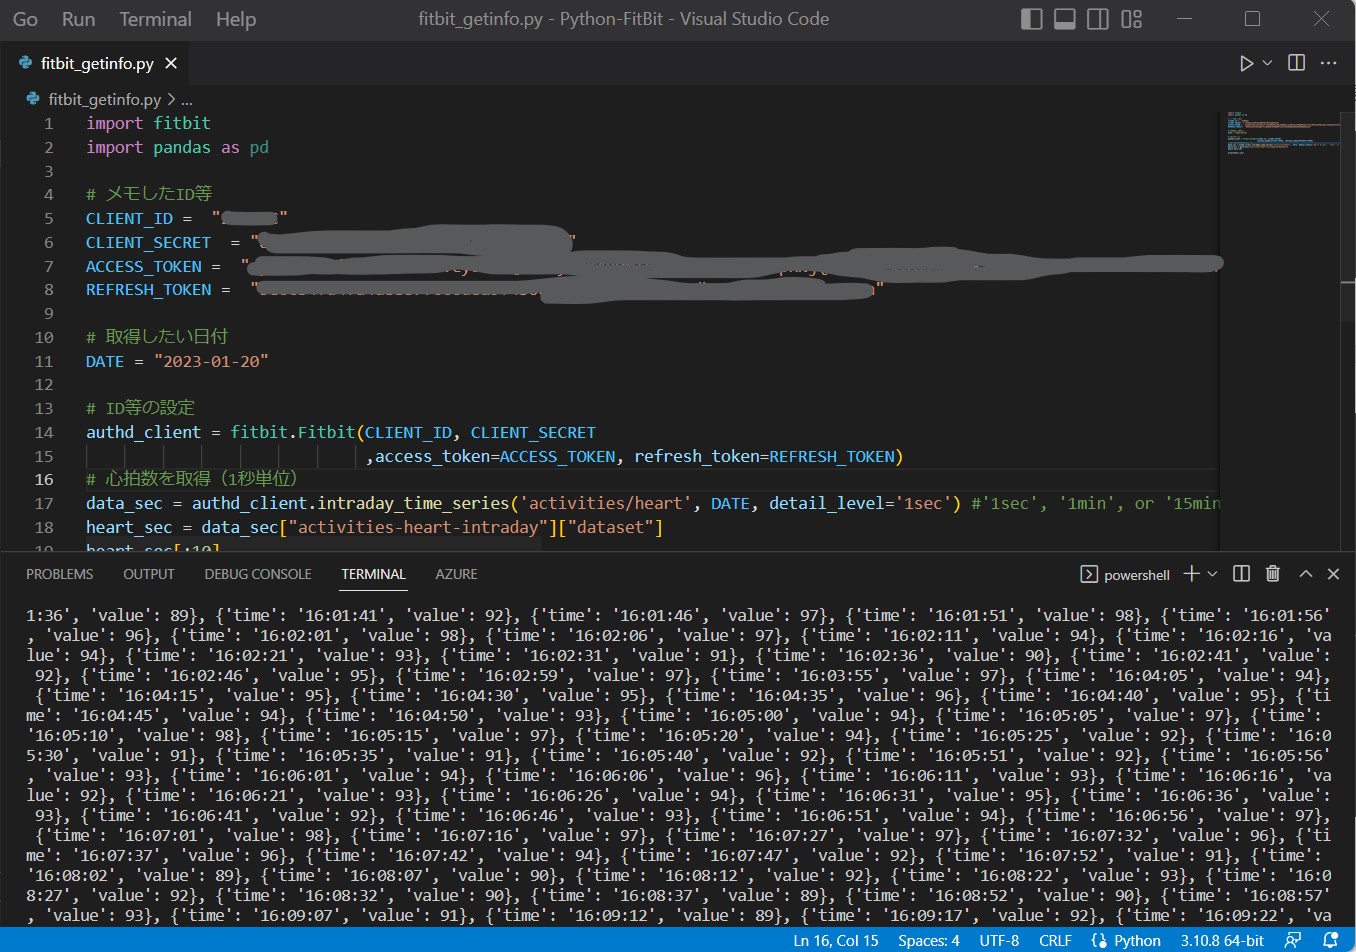
# 心拍数を取得(1秒単位)
data_sec = authd_client.intraday_time_series('activities/heart', DATE, detail_level='1sec') #'1sec', '1min', or '15min'
heart_sec = data_sec["activities-heart-intraday"]["dataset"]
heart_sec[:10]
print(heart_sec)
(図315)
STEP4-2:加工・プロット
(サンプルプログラム)
import fitbit
import pandas as pd
import matplotlib as mpl
import matplotlib.pyplot as plt
# メモしたID等
CLIENT_ID = "xxxxxx"
CLIENT_SECRET = "xxxxxxx"
ACCESS_TOKEN = "xxxxxxx"
REFRESH_TOKEN = "xxxxxxx"
# 取得したい日付
DATE = "2023-01-20"
# ID等の設定
authd_client = fitbit.Fitbit(CLIENT_ID, CLIENT_SECRET
,access_token=ACCESS_TOKEN, refresh_token=REFRESH_TOKEN)
# 心拍数を取得(1秒単位)
data_sec = authd_client.intraday_time_series('activities/heart', DATE, detail_level='1sec') #'1sec', '1min', or '15min'
heart_sec = data_sec["activities-heart-intraday"]["dataset"]
heart_sec[:10]
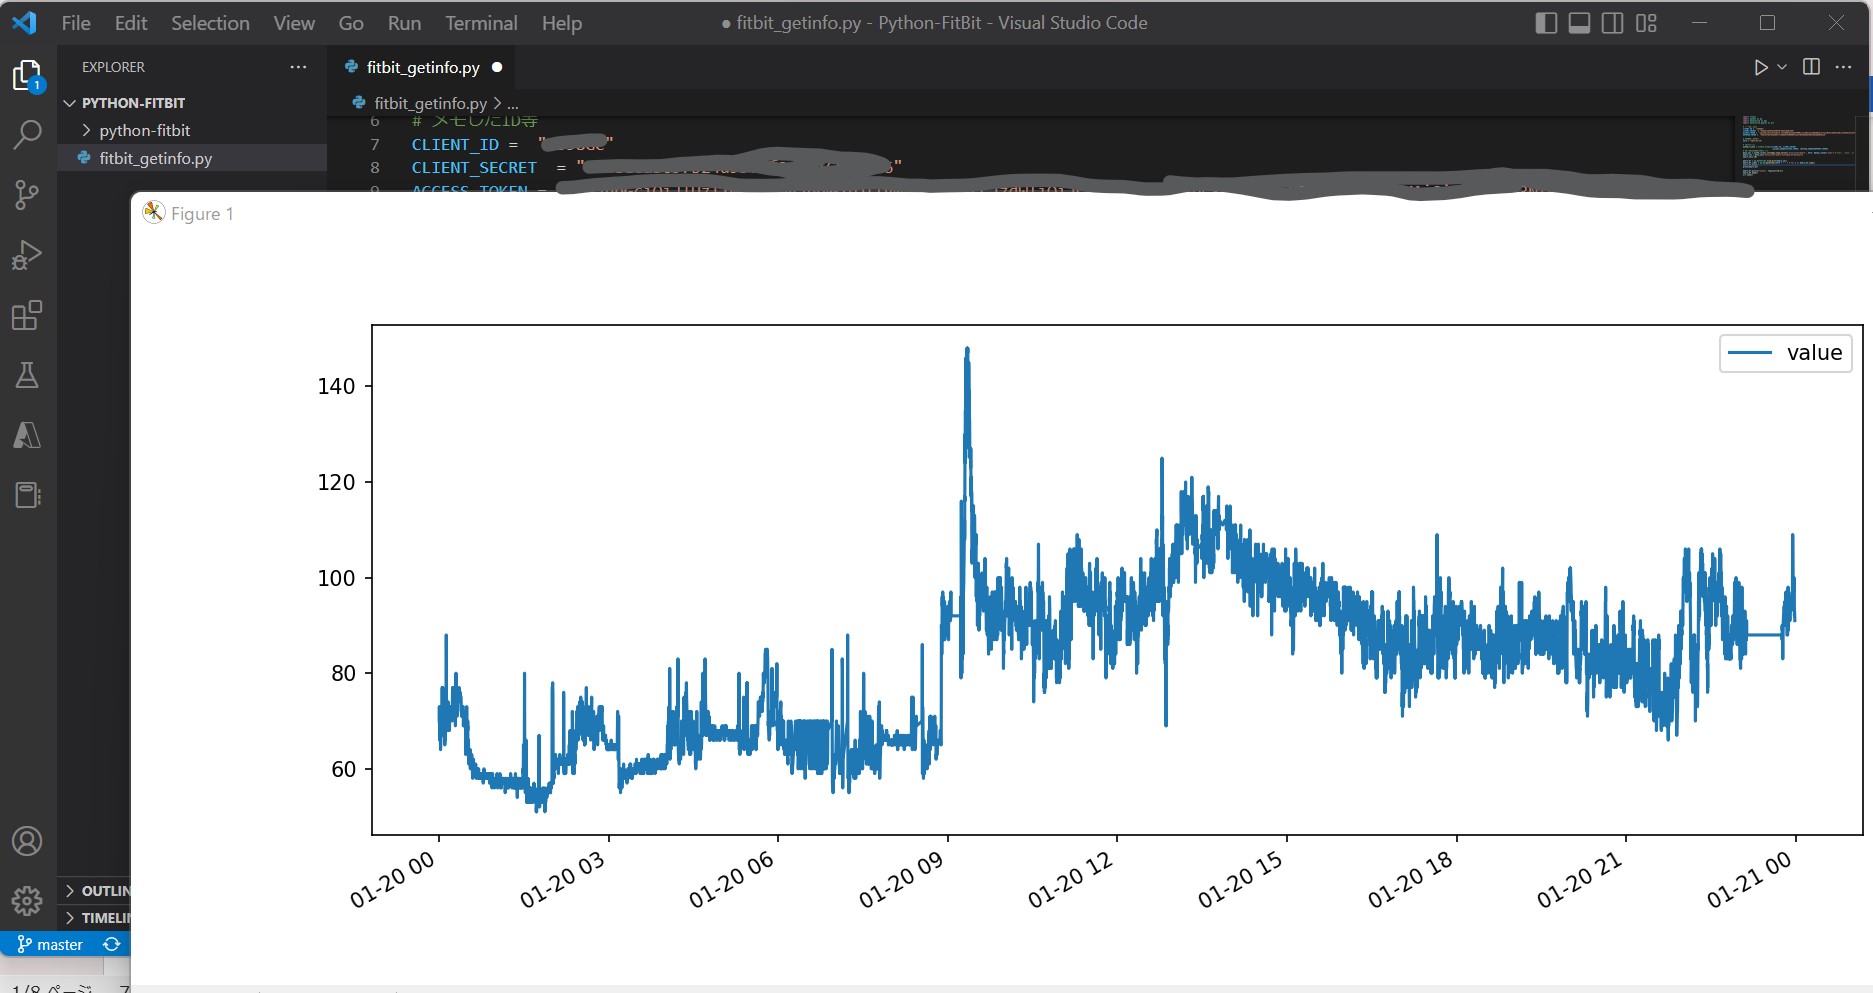
heart_df = pd.DataFrame.from_dict(heart_sec)
heart_df.index = pd.to_datetime([DATE + " " + t for t in heart_df.time])
heart_df.head()
print(heart_df)
heart_df.plot(y="value", figsize=(20,5))
heart_df.head()
plt.show()
(図316)
補足
ブックマークしとく↓
https://dev.fitbit.com/apps/details/[ご自身のアプリID]