<目次>
(1) Azure Blob Storage上にあるPDFファイルをテキスト変換する方法
やりたいこと
(1-0) STEP0:前提条件
(1-1) STEP1:Pythonモジュールの準備
(1-2) STEP2:環境構築
(1-3) STEP3:プログラムの実行
(1) Azure Blob Storage上にあるPDFファイルをテキスト変換する方法
やりたいこと
・Azure Blob Storage上にあるPDFを読み込み、その内容をAzure Form Recognizerに連携してテキストデータに変換する
(備考)
ローカルのPDFを読む場合に比べ、バイトストリームでの読込みなど少し工夫が必要
(1-1) STEP0:前提条件
(1-1) STEP1:Pythonモジュールの準備
ファイルは以下の3つを作ります。
・①azurestorage_pdf_to_text.py:メインモジュール
・②.env:環境変数
・③requirements.txt:必要なパッケージのインストール
●STEP1-1:①azurestorage_pdf_to_text.py
(サンプル)
import io
import os
from dotenv import load_dotenv
from azure.storage.blob import BlobServiceClient
from azure.ai.formrecognizer import DocumentAnalysisClient
from azure.core.credentials import AzureKeyCredential
# 環境変数読み込み
load_dotenv()
form_recognizer_end_point = os.environ.get('FORM_RECOGNIZER_END_POINT')
form_recognizer_key = os.environ.get('FORM_RECOGNIZER_KEY')
storage_account_name = os.environ.get('STORAGE_ACCOUNT_NAME')
storage_account_key = os.environ.get('STORAGE_ACCOUNT_KEY')
container_name = os.environ.get('CONTAINER_NAME')
# PDFファイルの解析(文字データ化)
def analyze_general_documents(stream):
"""
binaryファイルを解析し、記載されている文字列を抽出します。
"""
# DocumentAnalysisClientクラスのインスタンスを作成(Azure Form Recognizerに接続する)
# →Form Recognizerのサービスを使える様にする
document_analysis_client = DocumentAnalysisClient(
endpoint=form_recognizer_end_point,
credential=AzureKeyCredential(form_recognizer_key)
)
# ドキュメントの解析
poller = document_analysis_client.begin_analyze_document("prebuilt-document", stream)
# 戻り値:AsyncLROPoller のインスタンス
# →poller オブジェクトで result() を呼び出して、 を AnalyzeResult返します。
result = poller.result()
# 結果格納用の配列
text_of_doc = []
# 結果は「ページ単位」に分かれている
for page in result.pages:
# 更にその中で「行単位」に分かれる
for line_idx, line in enumerate(page.lines):
# 行単位に「単語」の情報を抽出
words = line.get_words()
for word in words:
# リストに追加
text_of_doc.append(word.content)
# 配列の中身を、1つの変数に格納しなおす
final_text = ""
for text in text_of_doc:
final_text += text
return final_text
def main():
# BLOB名称
# blob_name = '[ご自身のファイル名].pdf'
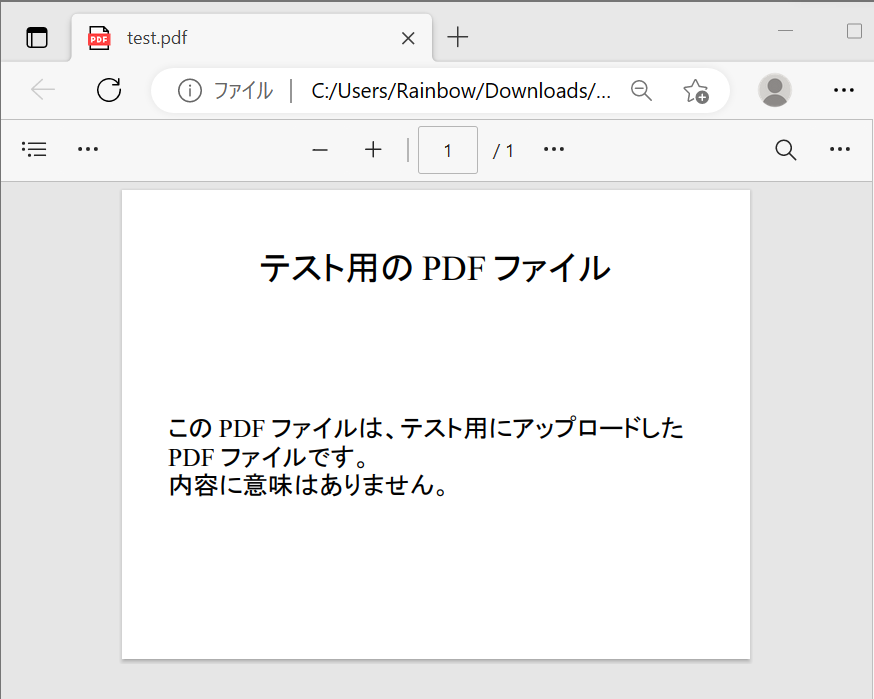
blob_name = 'test.pdf'
# BlobServiceClientオブジェクトを作成
blob_service_client = BlobServiceClient(
account_url=f"https://{storage_account_name}.blob.core.windows.net/",
credential=storage_account_key
)
blob_client = blob_service_client.get_blob_client(container_name, blob_name)
# Blob StorageからPDFファイルをバイトストリームとして読み込む
stream = io.BytesIO()
blob_client.download_blob().download_to_stream(stream)
stream.seek(0)
# Azure Form Recognizerに接続し、PDFを文字データに変換
result = analyze_general_documents(stream)
print(result)
if __name__ == "__main__":
main()
(図111)

●STEP1-2:②.env:環境変数
FORM_RECOGNIZER_END_POINT = "https://xxxxxx.cognitiveservices.azure.com/"
FORM_RECOGNIZER_KEY = "xxxxx"
STORAGE_ACCOUNT_NAME='xxxxxx'
STORAGE_ACCOUNT_KEY='xxxxxx'
CONTAINER_NAME='xxxxxxx'
(図121)

●STEP1-3:③requirements.txt:必要なパッケージのインストール
→ここでは事前に定義のみして、実際のインストールは次の工程で実施します。
python-dotenv==1.0.0
azure-ai-formrecognizer==3.2.1
azure-core==1.26.4
azure-storage-blob==12.16.0
(図131)

(1-2) STEP2:環境構築
●STEP2-1:仮想環境の構築
仮想環境を作っておく事で、必要なパッケージのみの最低限の環境を作れます(影響調査などしやすくなります)
> python -m venv .venv
(図211)

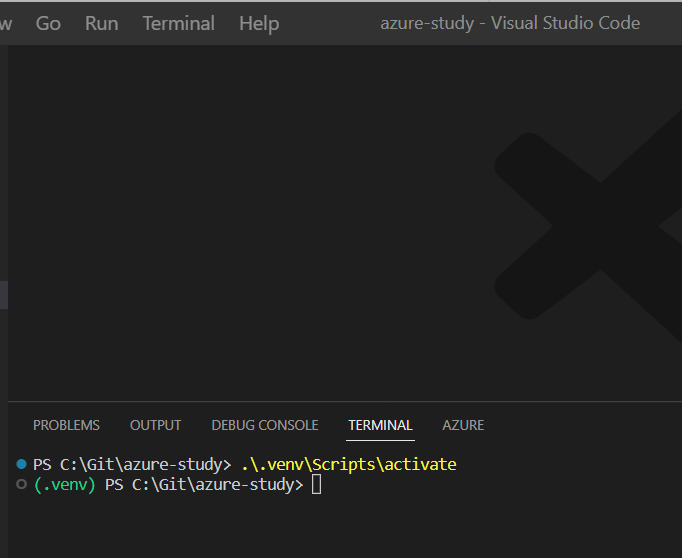
●STEP2-2:仮想環境のアクティベート
> .\.venv\Scripts\activate
●STEP2-3:仮想環境のアクティベート
requirements.txtに必要なものは事前に記述してあるので、その内容をインストールするよう指示してます
> pip install -r requirements.txt
(1-3) STEP3:プログラムの実行
・①実行
(構文)
(構文)
> .\.venv\Scripts\python.exe [ファイルパス]\[モジュール名].py
(例)
> .\.venv\Scripts\python.exe .\pdf_to_text\azurestorage_pdf_to_text.py
(図221)

・②実行結果の確認
→PDFの文字内容をテキスト化できている事が確認できました。
→PDFの文字内容をテキスト化できている事が確認できました。
(図222)